So, about to be evicted from bedroom four which was the old Node Zero, I had to come up with a way to maintain use of all the existing CAT5 cabling and avoid ripping up floors and running more in.
Fortunately, the room had a conveniently unused storage area which formed part of the bulkhead over the stairs up from the ground floor. After having decorated appropriately for a 3 – 4 year old girl (you can just about make out the shocking pink below!) it was suggested by SWMBO (again, read that as “demanded”) that some form of raised bed / bunk bed would be good.
A short while later and here is the result:
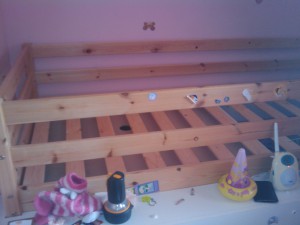
…..a raised bed with ladder access for the sprog – the ultra observant will spy that small round hole just in shot. This is one of three air flow holes in the “noise baffle” lid of what is now Node One. (Also note that to the left of the bed is a small “false wall” with half a dozen 20mm conduits in to ease running of cables into the loft.)
Having learned many valuable lessons / hints / tips from UKHA list members over the years, when I’d originally run in all the CAT5 I’d left plenty of spare on all of the runs coiled up in the floor space. This turned out to be more than enough to un-patch everything from the old comms cabinet and bring the cables back down under the floor, along a few meters and then up into the aforementioned storage space – Node One was born!
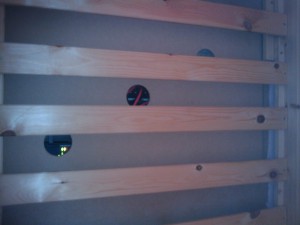
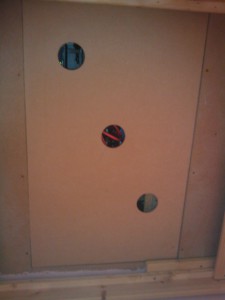
Here we have the lid underneath the slats of the raised bed (these are no longer screwed down, I’ve made them quick-removable now) and once the slats are removed the image below shows the lid in all it’s glory. This was just a simple piece of MDF lined with polystyrene and works effectively as a noise baffle (although having silent / low noise switches helps too).
Next up we can see the bulk of the cabling coming up through the floor – all fairly neat and tidy, as well as being thoroughly labelled (another tip from UKHA).
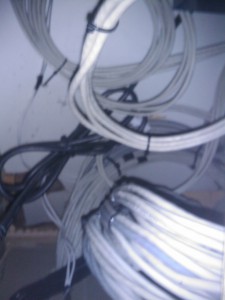
With the bulk of Node Zero equipment now having to be re-located to the Garage, I obviously needed to run CAT5 cables from the new location to Node One to allow connectivity between the two. The next image shows that cabling.
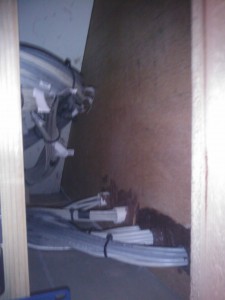
Fortunately the garage is attached to this side of the house, so the CAT5 cables can go straight through the wall and into the garage – I chose to separate out the cables into groups that go through 25mm conduit, mainly so that I could avoid chopping out masses of brick but also to ease adding of additional cables if necessary at a later date.
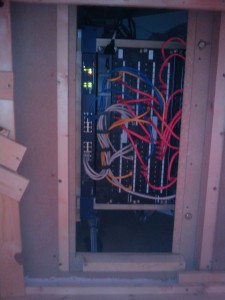
Above you can see the final result, I built a simple wooden “rack rails” system to mount patch panels and network switches on. Cabling from the house terminates into both a 48 way patch panel and a 24 way patch panel while cabling from the new Node Zero terminates into it’s own 48 way patch panel. Short, color coordinated patch cables and a cable-tidy help to keep things neat. The network switch to the left is a Netgear 16 port Gigabit Smart Switch (nowadays it has the correct rack mounts on it as well!) and the four grey cables at the bottom are a 4 port “trunk / lag” that goes to another Gigabit network switch in Node Zero. This gives a nice big pipe connecting machines in the house that can take advantage of GB networking with Node Zero. Also visible are the speaker wire connections at the top of the image. These bring audio from a Rio Receiver in Node Zero over CAT5 to speaker wire that then travels up through the false wall mentioned previously, across the loft and into speakers in the bathroom ceiling!
To the right and just about viewable below is a Netgear 50 port (48 10/100 and 2 Gigabit) Smart Switch. It’s pretty tight getting cables in and out, but I don’t need to do that very often! This switch uses the two Gigabit ports in another trunk / lag to connect to Node Zero also giving a reasonably sized pipe for all of the equipment connected to that switch to connect to Node Zero. Another point of interest is the home made RJ45 “dongle” for the 1Wire temperature sensor that you can just about see in the centre which goes over CAT5 to a HA7Net 1Wire controller in Node Zero
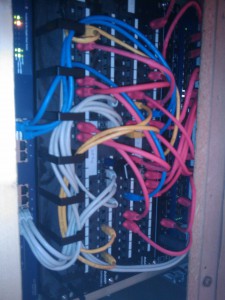
So far this arrangement is working out well. It’s easy to patch services (network, audio, phone, 1Wire, etc) between the two locations and the network switches offer plenty of connectivity. I’ve not bothered having any form of UPS in here, since I decided that networking in the house could afford to go off-line in the event of a power cut.
Thanks for reading,
Martyn Wendon