started my journey with Z-Wave many moons ago, a Linksys NSLU2 aka “Slug” and a TrickleStar USB adapter using the OpenZ-Wave stack and some HomePro devices dumping me right in at the deep end!
Unfortunately at that time, OpenZ-Wave was still in it’s infancy and my patience with the one-way nature of Home Easy, Byron and Bye Bye Standby equipment wore thin much quicker than I had thought it would! So I eventually invested in a MiCasaverde Vera Z-Wave controller during the second half of 2010 and began to slowly upgrade the more unreliable parts of my Home Automation system to Z-Wave.
The wireless nature of Z-Wave allows most devices to be retro-fitted pretty easily without having to chop bits out of your walls and run loads more cables in, so it has high WAF (Wife Acceptance Factor) as I don’t have to spend too much time decorating or making good afterwards!
The Vera 2 has proven to be a pretty reliable controller too, it has an active developer community producing plugins that allow it to be integrated with all manner of other technologies (for example Visonic, LightwaveRF, Logitech Squeezeboxes, Sonos, to name a few). I wrote a Lua plugin for it myself too so it could report device status over the xAP network and it has a UPNP and HTTP API to allow it to be controlled from third party applications. This has made it fairly simple to integrate it with my existing HA systems.
Since I got the Vera 2, most of my new projects have been Z-Wave based, it’s been a blessing not to have to mess about with the likes of X10 any more! I’ve also been selling off most of my spares of Home Easy and Byron kit as and when bits of the old system are retired – this helps fund my new Z-Wave addiction 😉
So anyway, a couple of weekends back and with a few hours going spare while the family were out shopping, I got on with a spot of DIY and replaced our loft hatch. A couple of years ago (“try at least five” says the wife, reading over my shoulder!) in a particularly fierce storm, our loft hatch flew open and the hinges all but broke off, leaving it hanging precariously. In true UKHA style a band-aid was applied (some big screws securing it back in place) and it’s been on the to-do list to fix ever since!
An hour in and the loft hatch was replaced, hinges beefed up and new locking mechanism installed to hopefully prevent it from blowing open again. But, still an hour or so to kill until the family got back…………
My thoughts turned to a Fibaro Universal Door & Window Sensor and a Fibaro 2 Channel Relay Insert that had been sitting in the spares cupboard for a while and to yet another item on the to-do list – automate the loft lighting.
Our loft lighting, probably like most peoples, is turned on by a switch up in the loft itself. So in the dark, you have to use a pole to retrieve the ladder, pull the ladder down, climb up and fumble for the light switch to turn the lights on.
This seemed like a good opportunity to cross another job off the to-do list! I also figured that by using the Fibaro 2 Channel Relay Insert, I’d have a spare channel to use in the loft at a later date – probably to automate some security lights that I bought about 3 years ago (“try at least seven” says the wife – perhaps I should start writing my blog posts in private!) that I still haven’t installed!
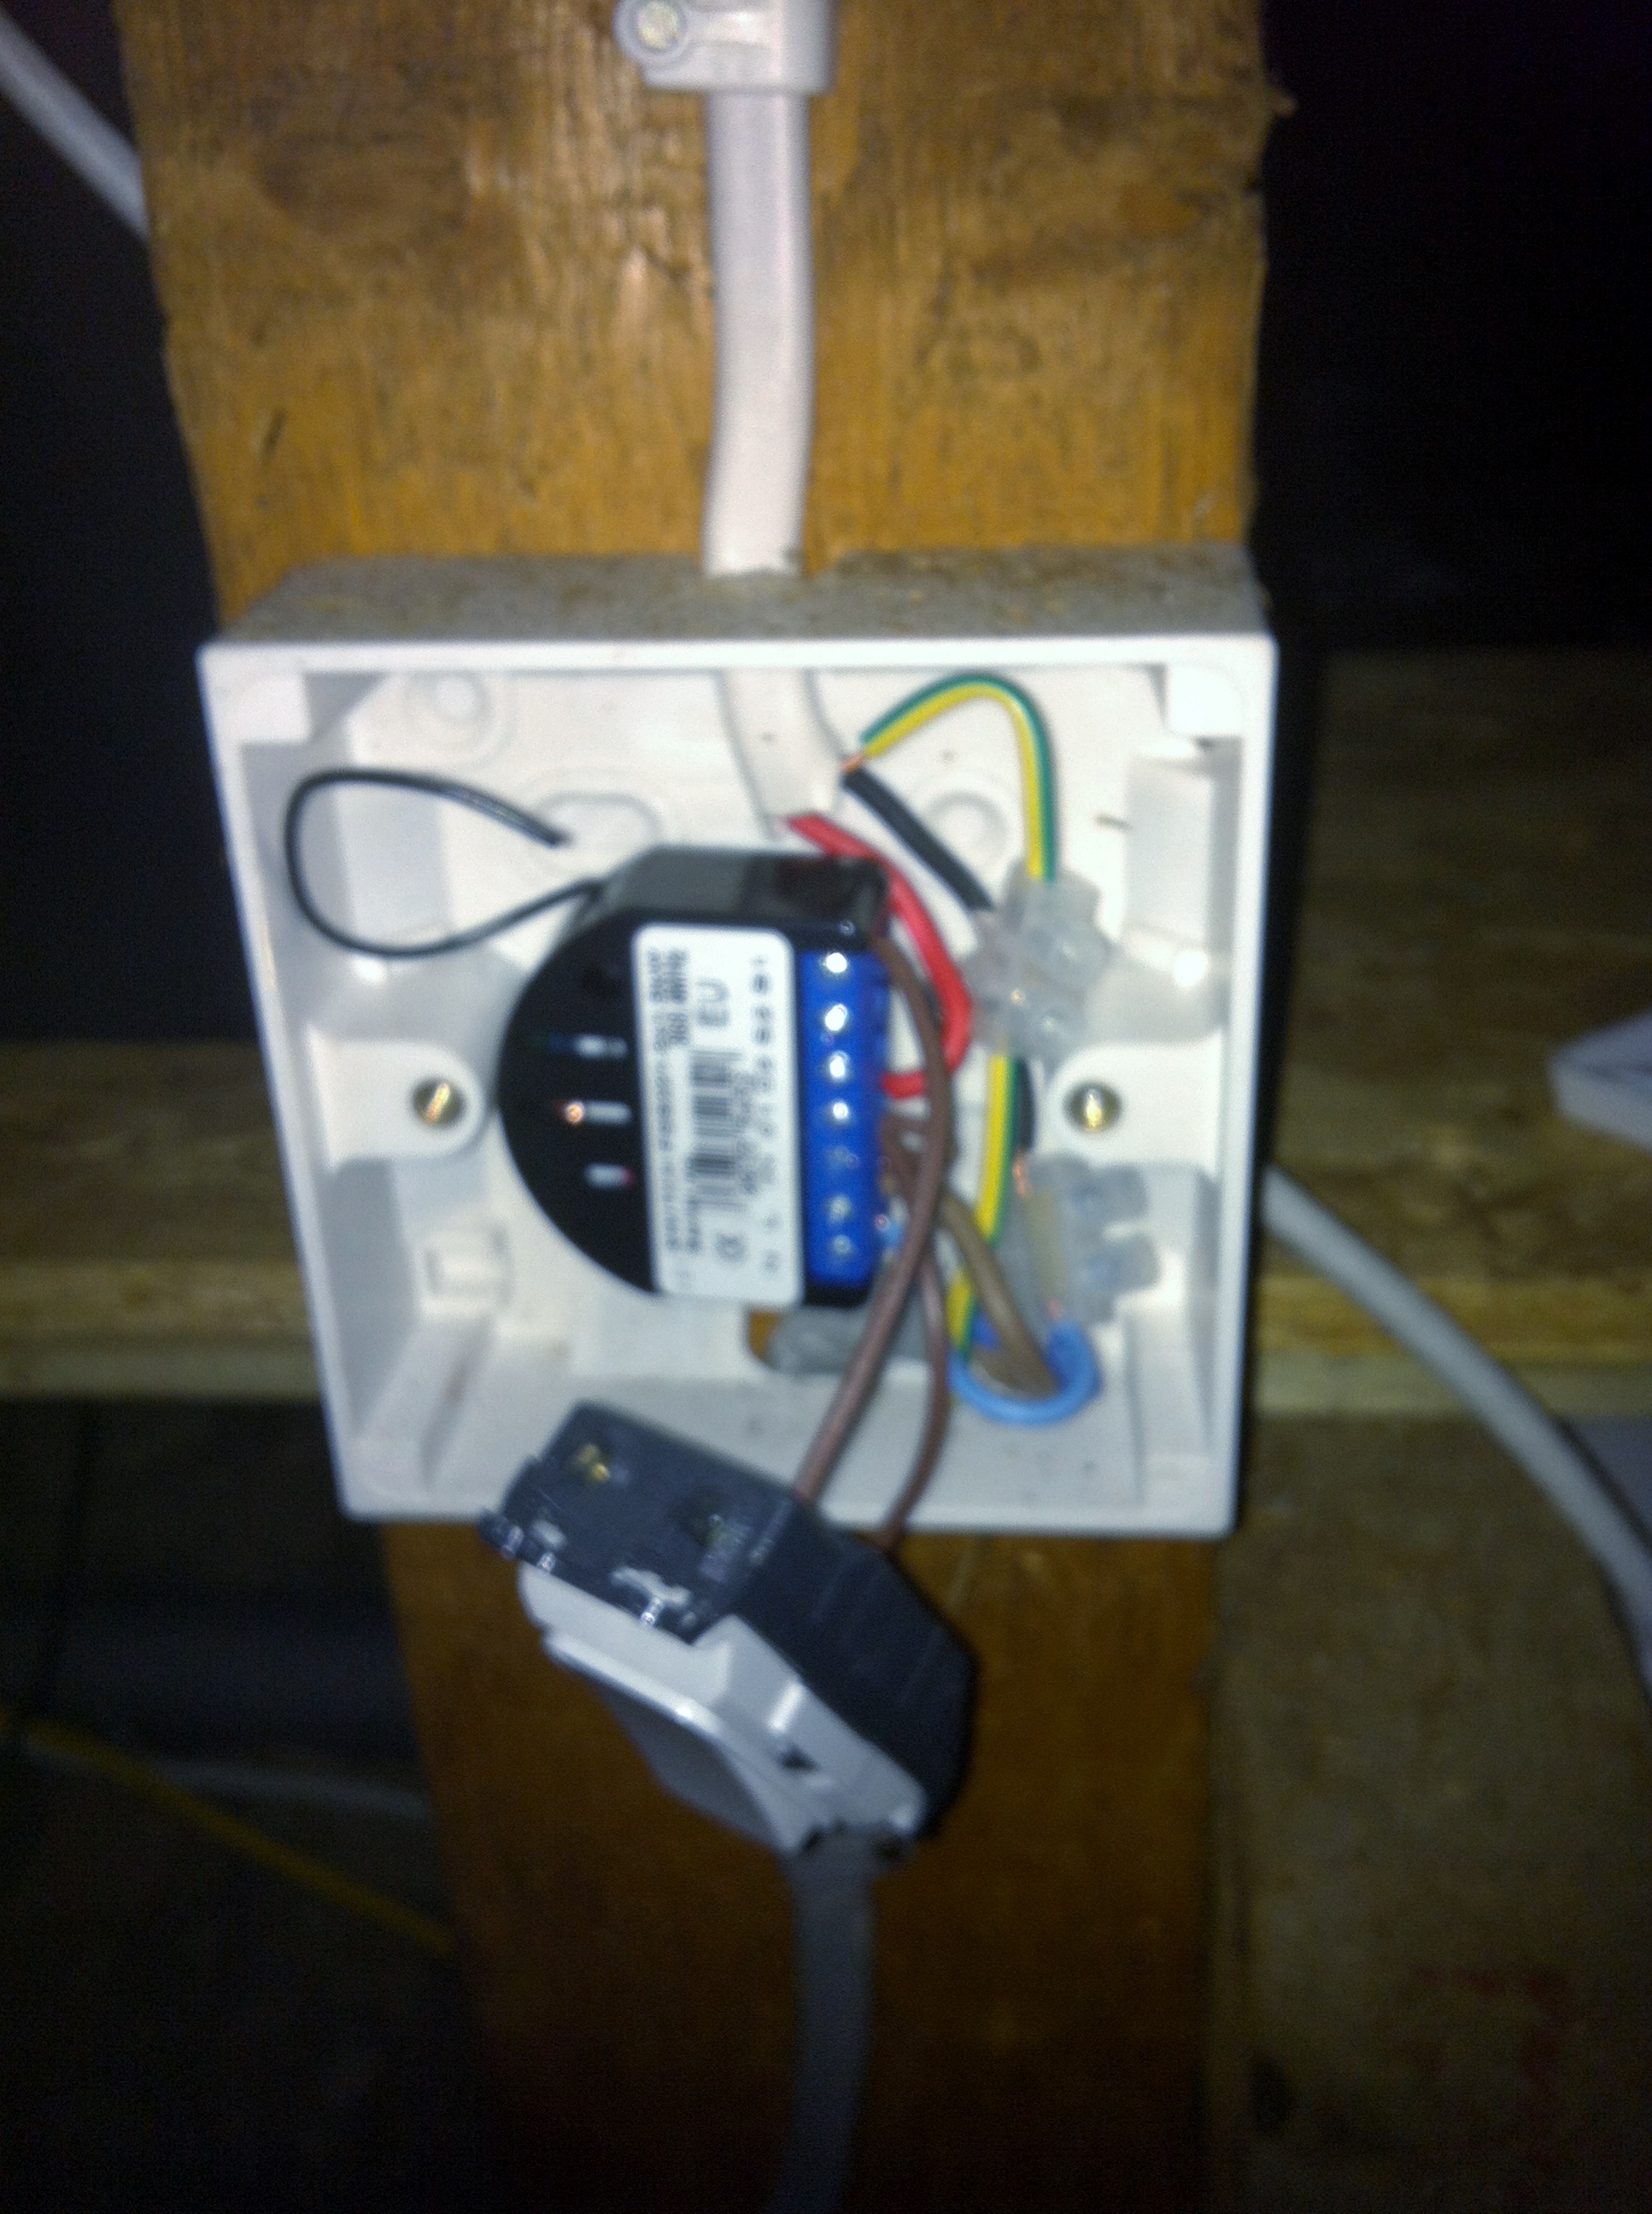
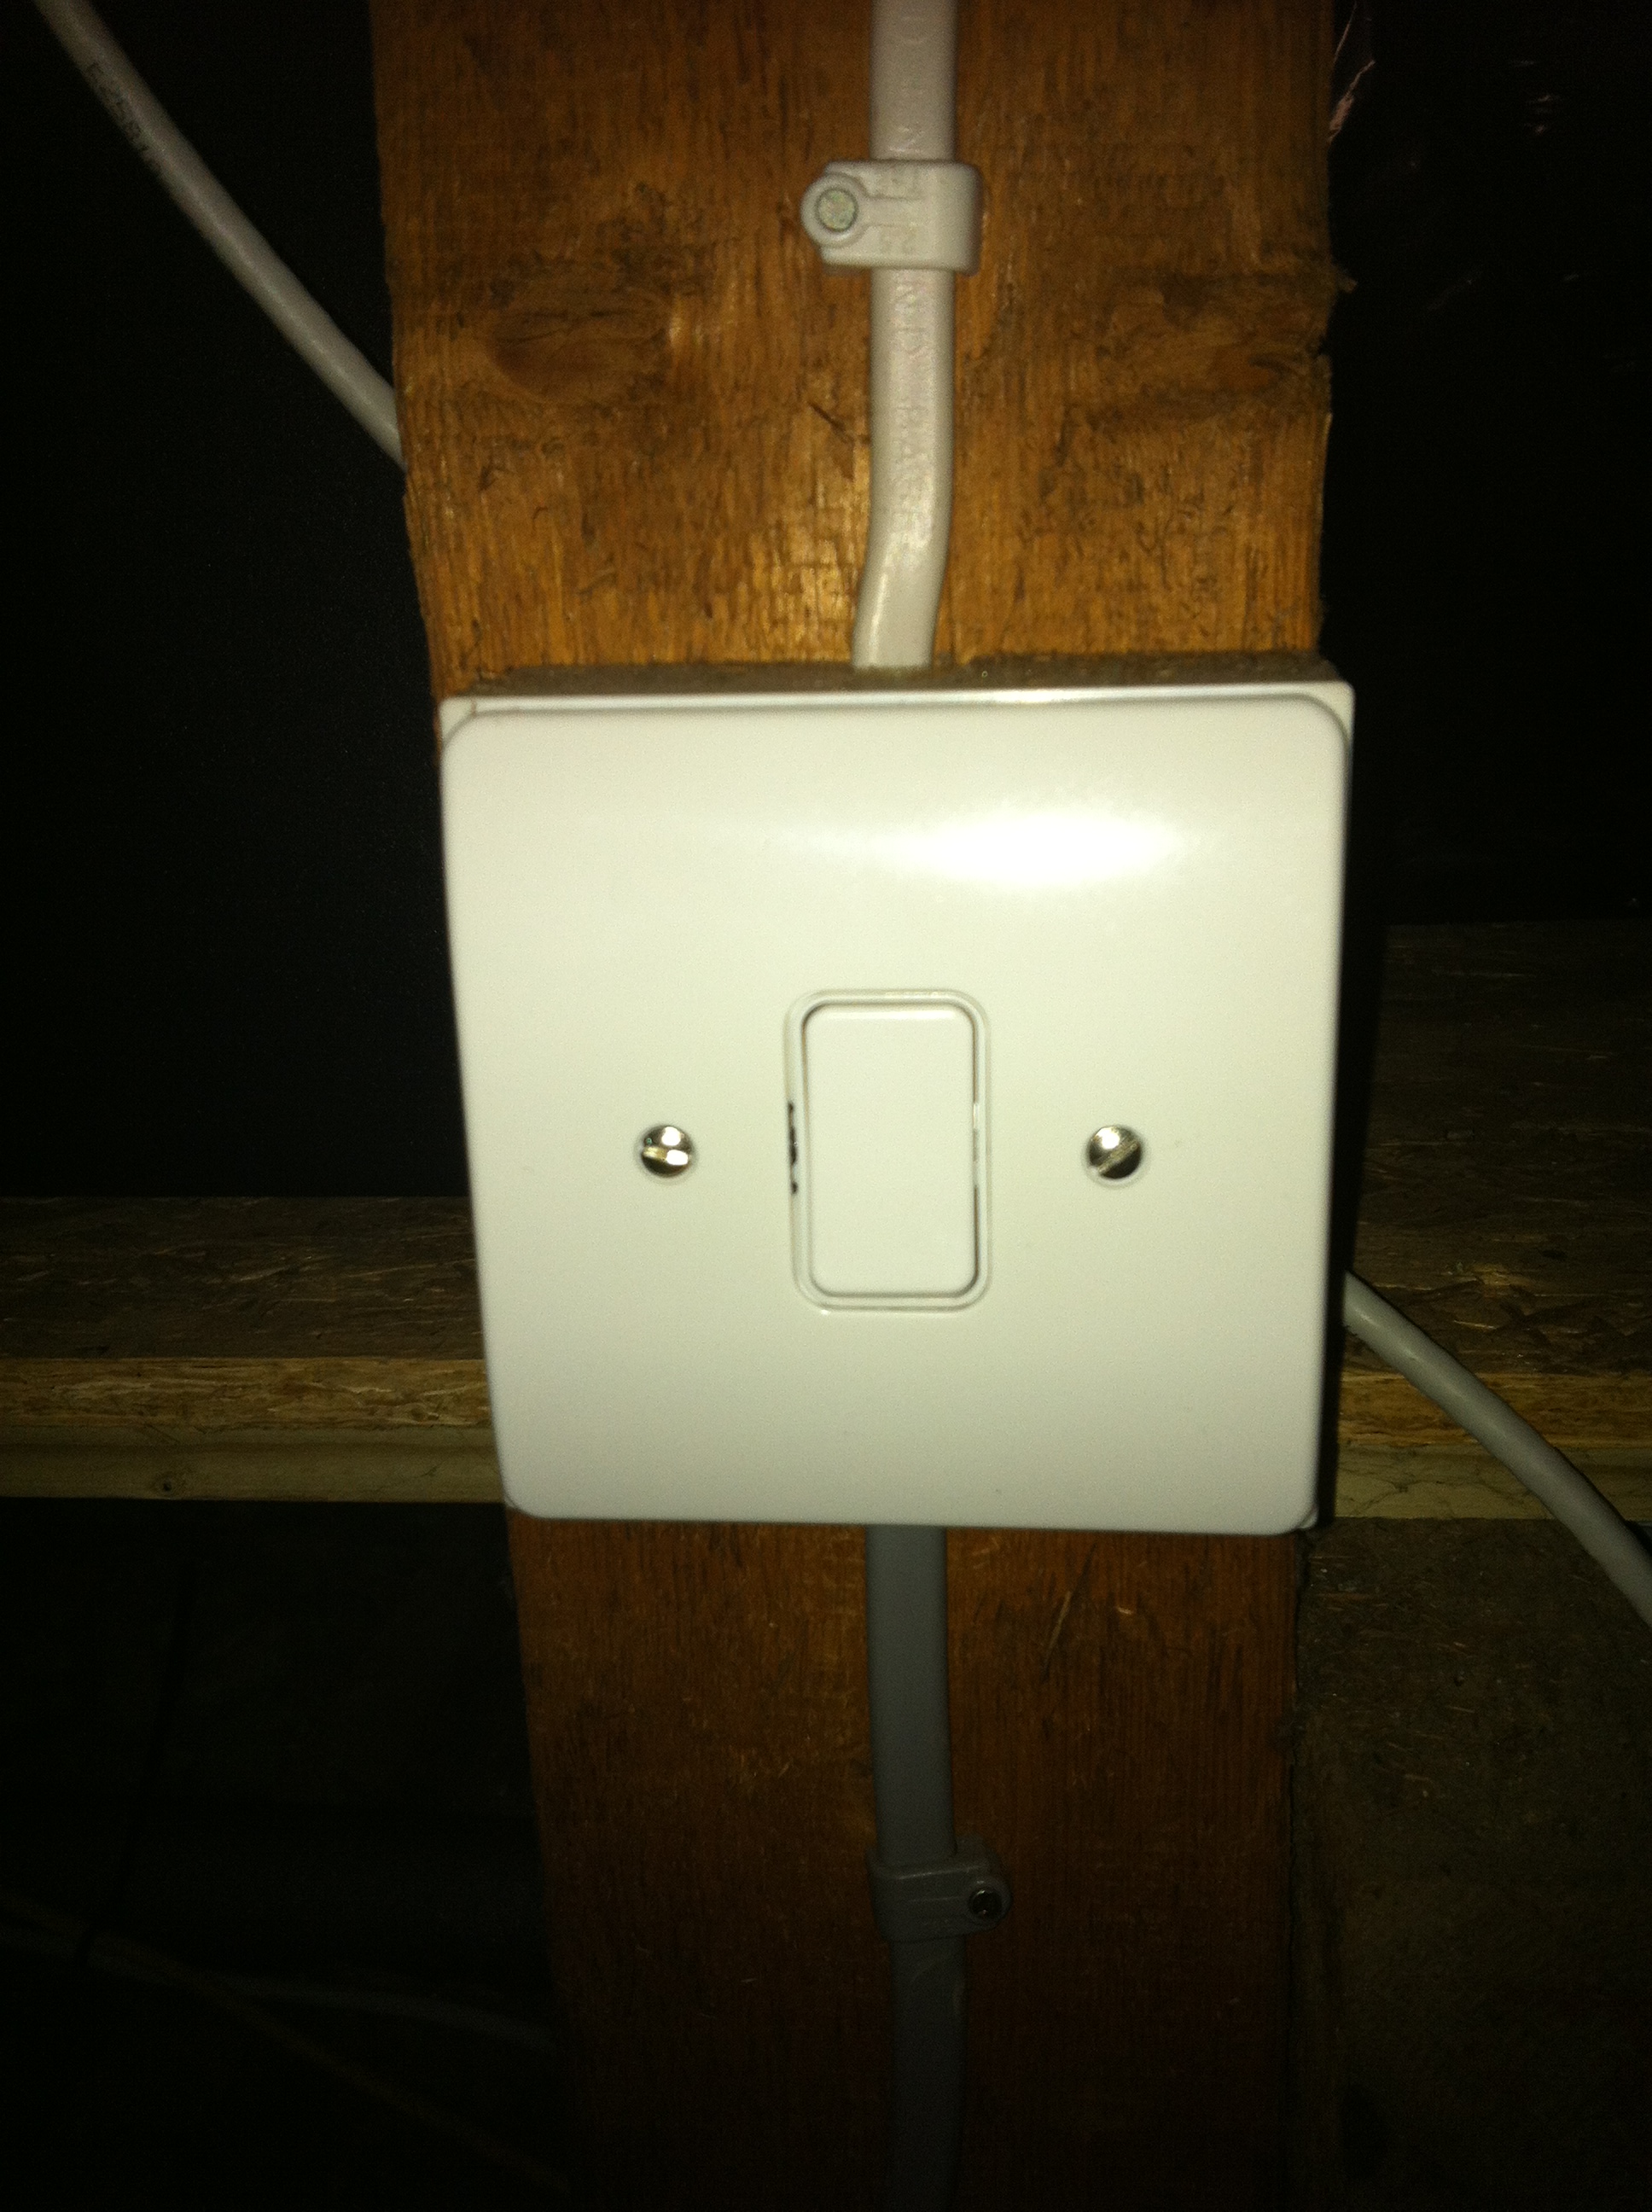
Still reading? Well, on to the good stuff! Fortunately the existing light switch pattress was just about big enough to take a Fibaro module (they don’t need much space) and I had some spare MK Grid Plus parts in the spares cupboard too. I really like the MK Grid Plus stuff, it’s pretty flexible and they do the momentary / retractive switches that work well with the Fibaro modules.
The Fibaro Relays need a 3-wire system to work, i.e. they need a neutral. Fortunately several years ago I’d updated the loft electrics and put in a separate radial circuit and had fitted a local double isolated switched and fused spur so a neutral was already present. It was also nice to be able to simply isolate the mains supply locally to work on the wiring without having to trek down ladder and stairs to the CU (Consumer Unit) and turn electrics off.

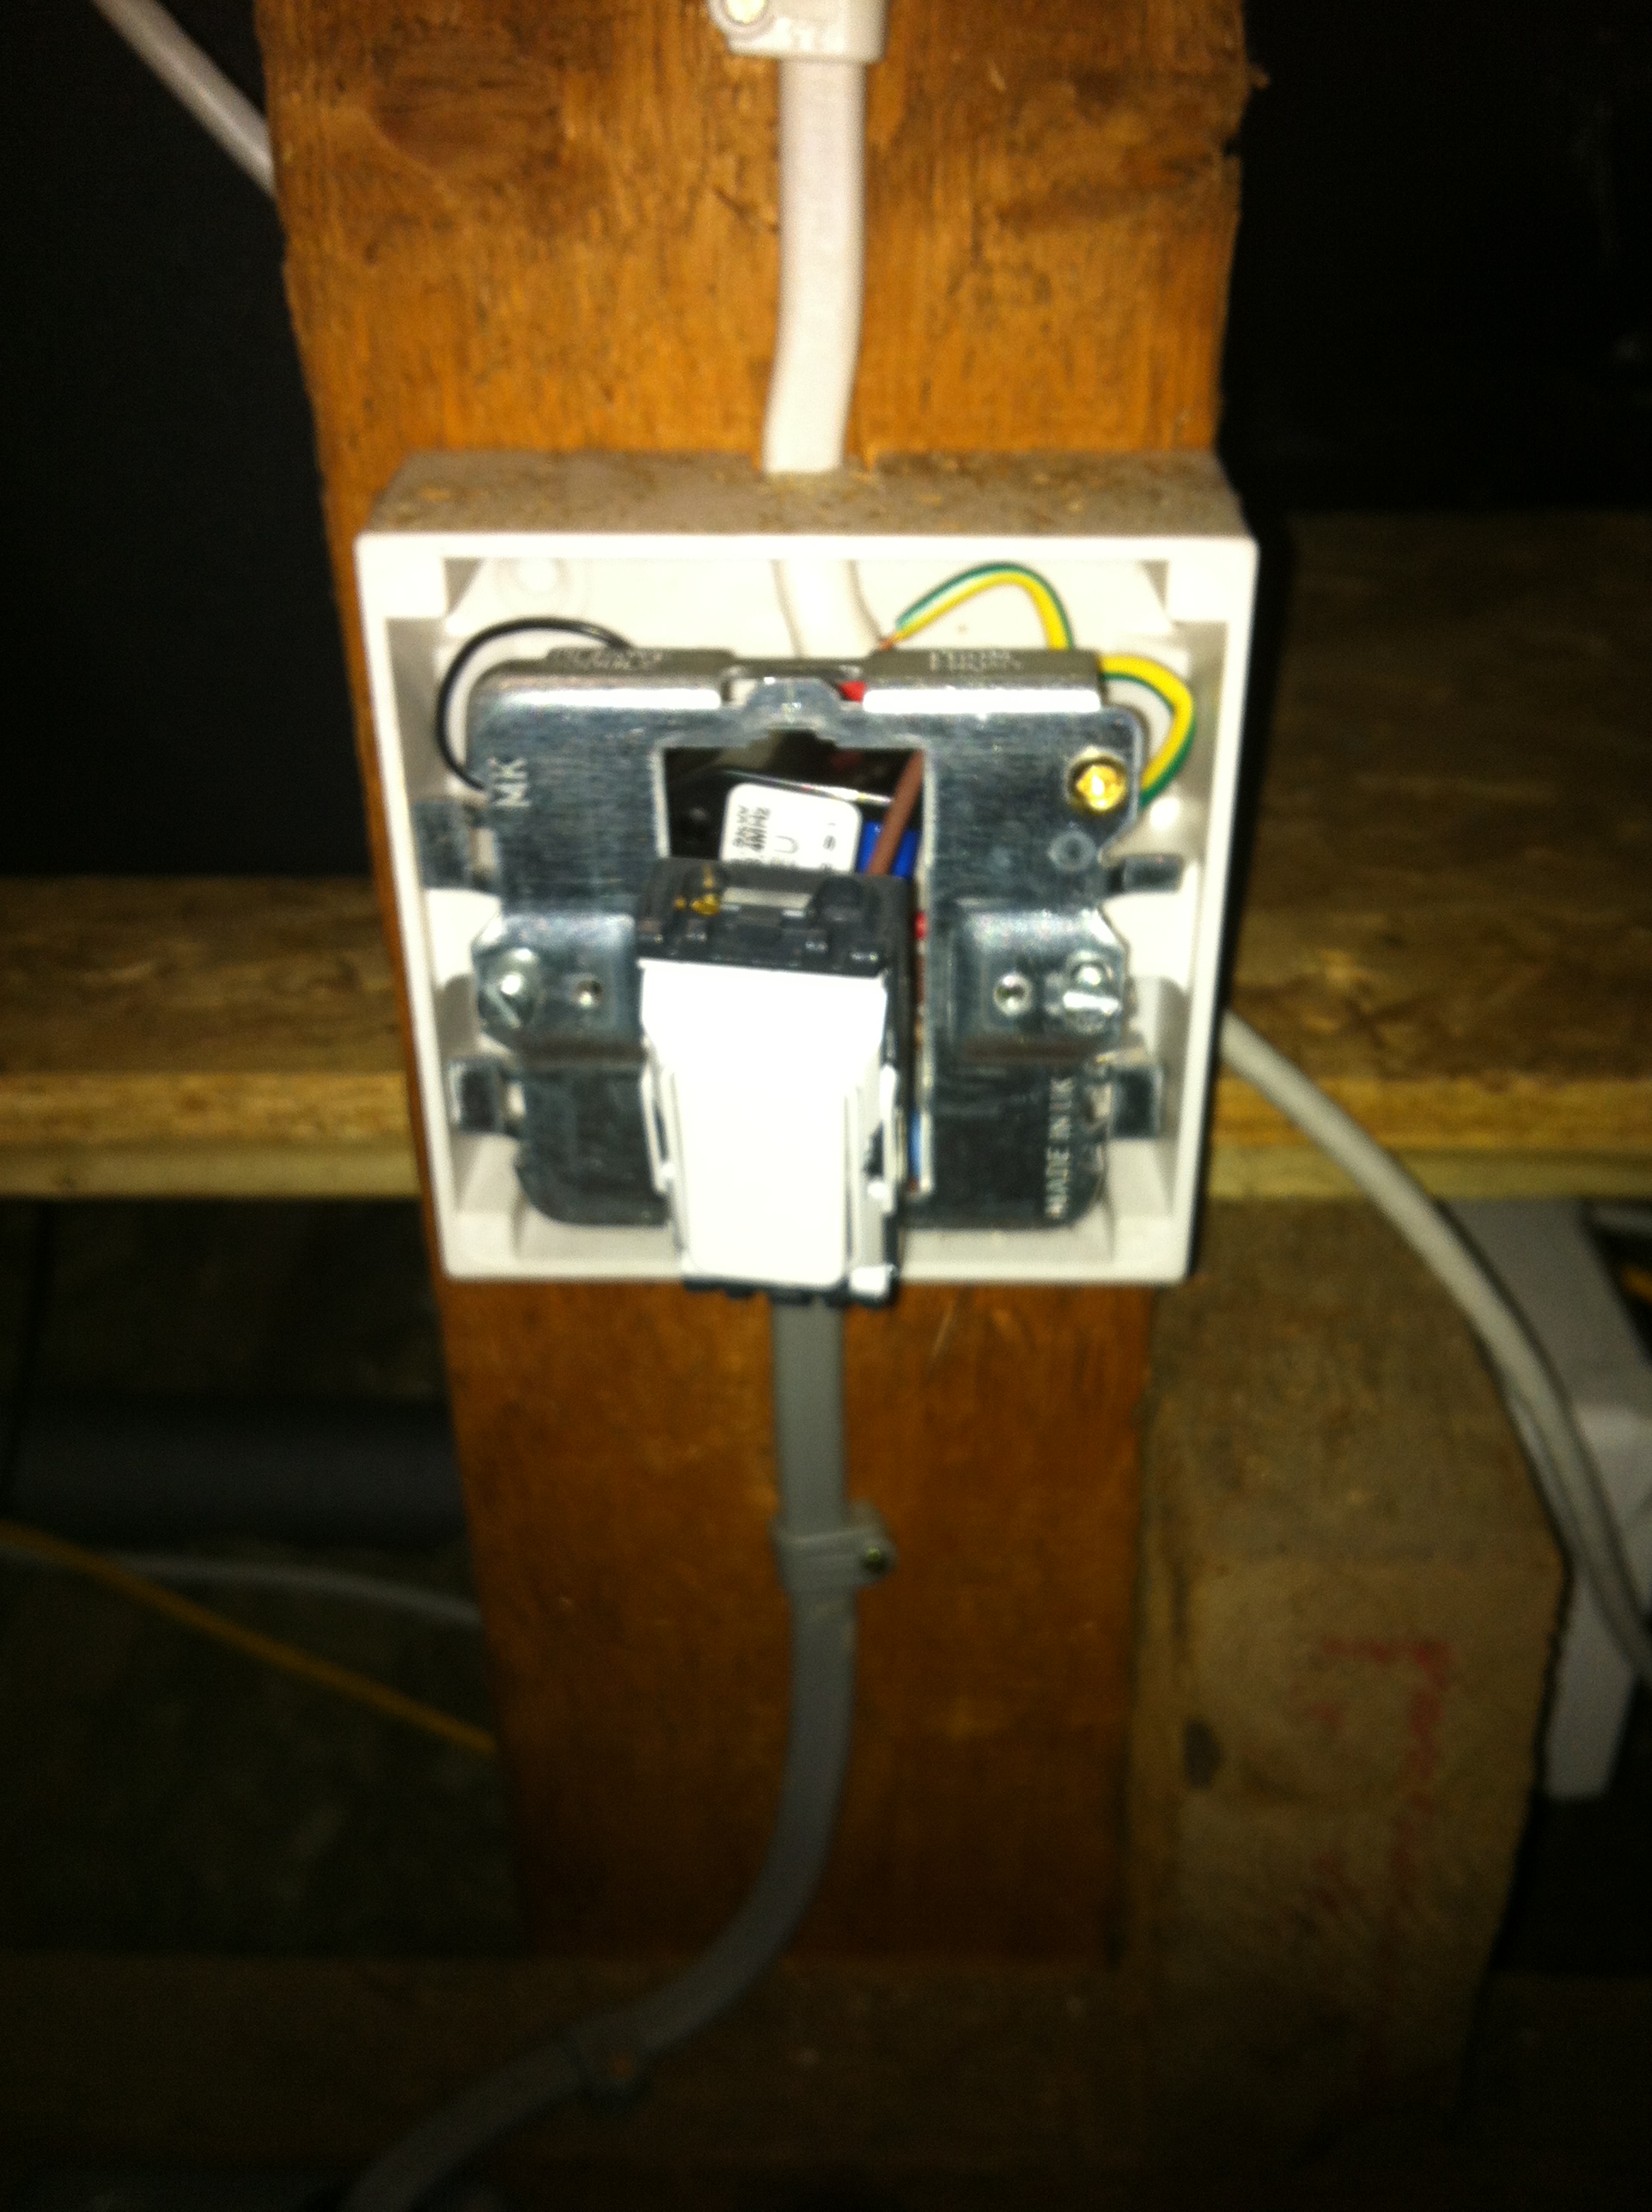
Installing the Fibaro Relay was easy, I just removed the existing switch and used some 5amp chock-block to common some of the wiring together (it can be a bit tight getting more than two 1.5mm wires into the screw terminals on the Fibaro modules). It was a touch on the tight side fitting it into the pattress to be honest and I probably should have swapped out the pattress but that would have involved a visit to the local DIY sheds – maybe I will add that to the to-do list for another day!
Once the module was installed, I went through the inclusion process to add it to the Z-Wave network using my Vera. This took a bit of trial and error and running up and down the ladder to the nearest PC as the Fibaro modules can be a bit picky about the number of presses on the inclusion button!
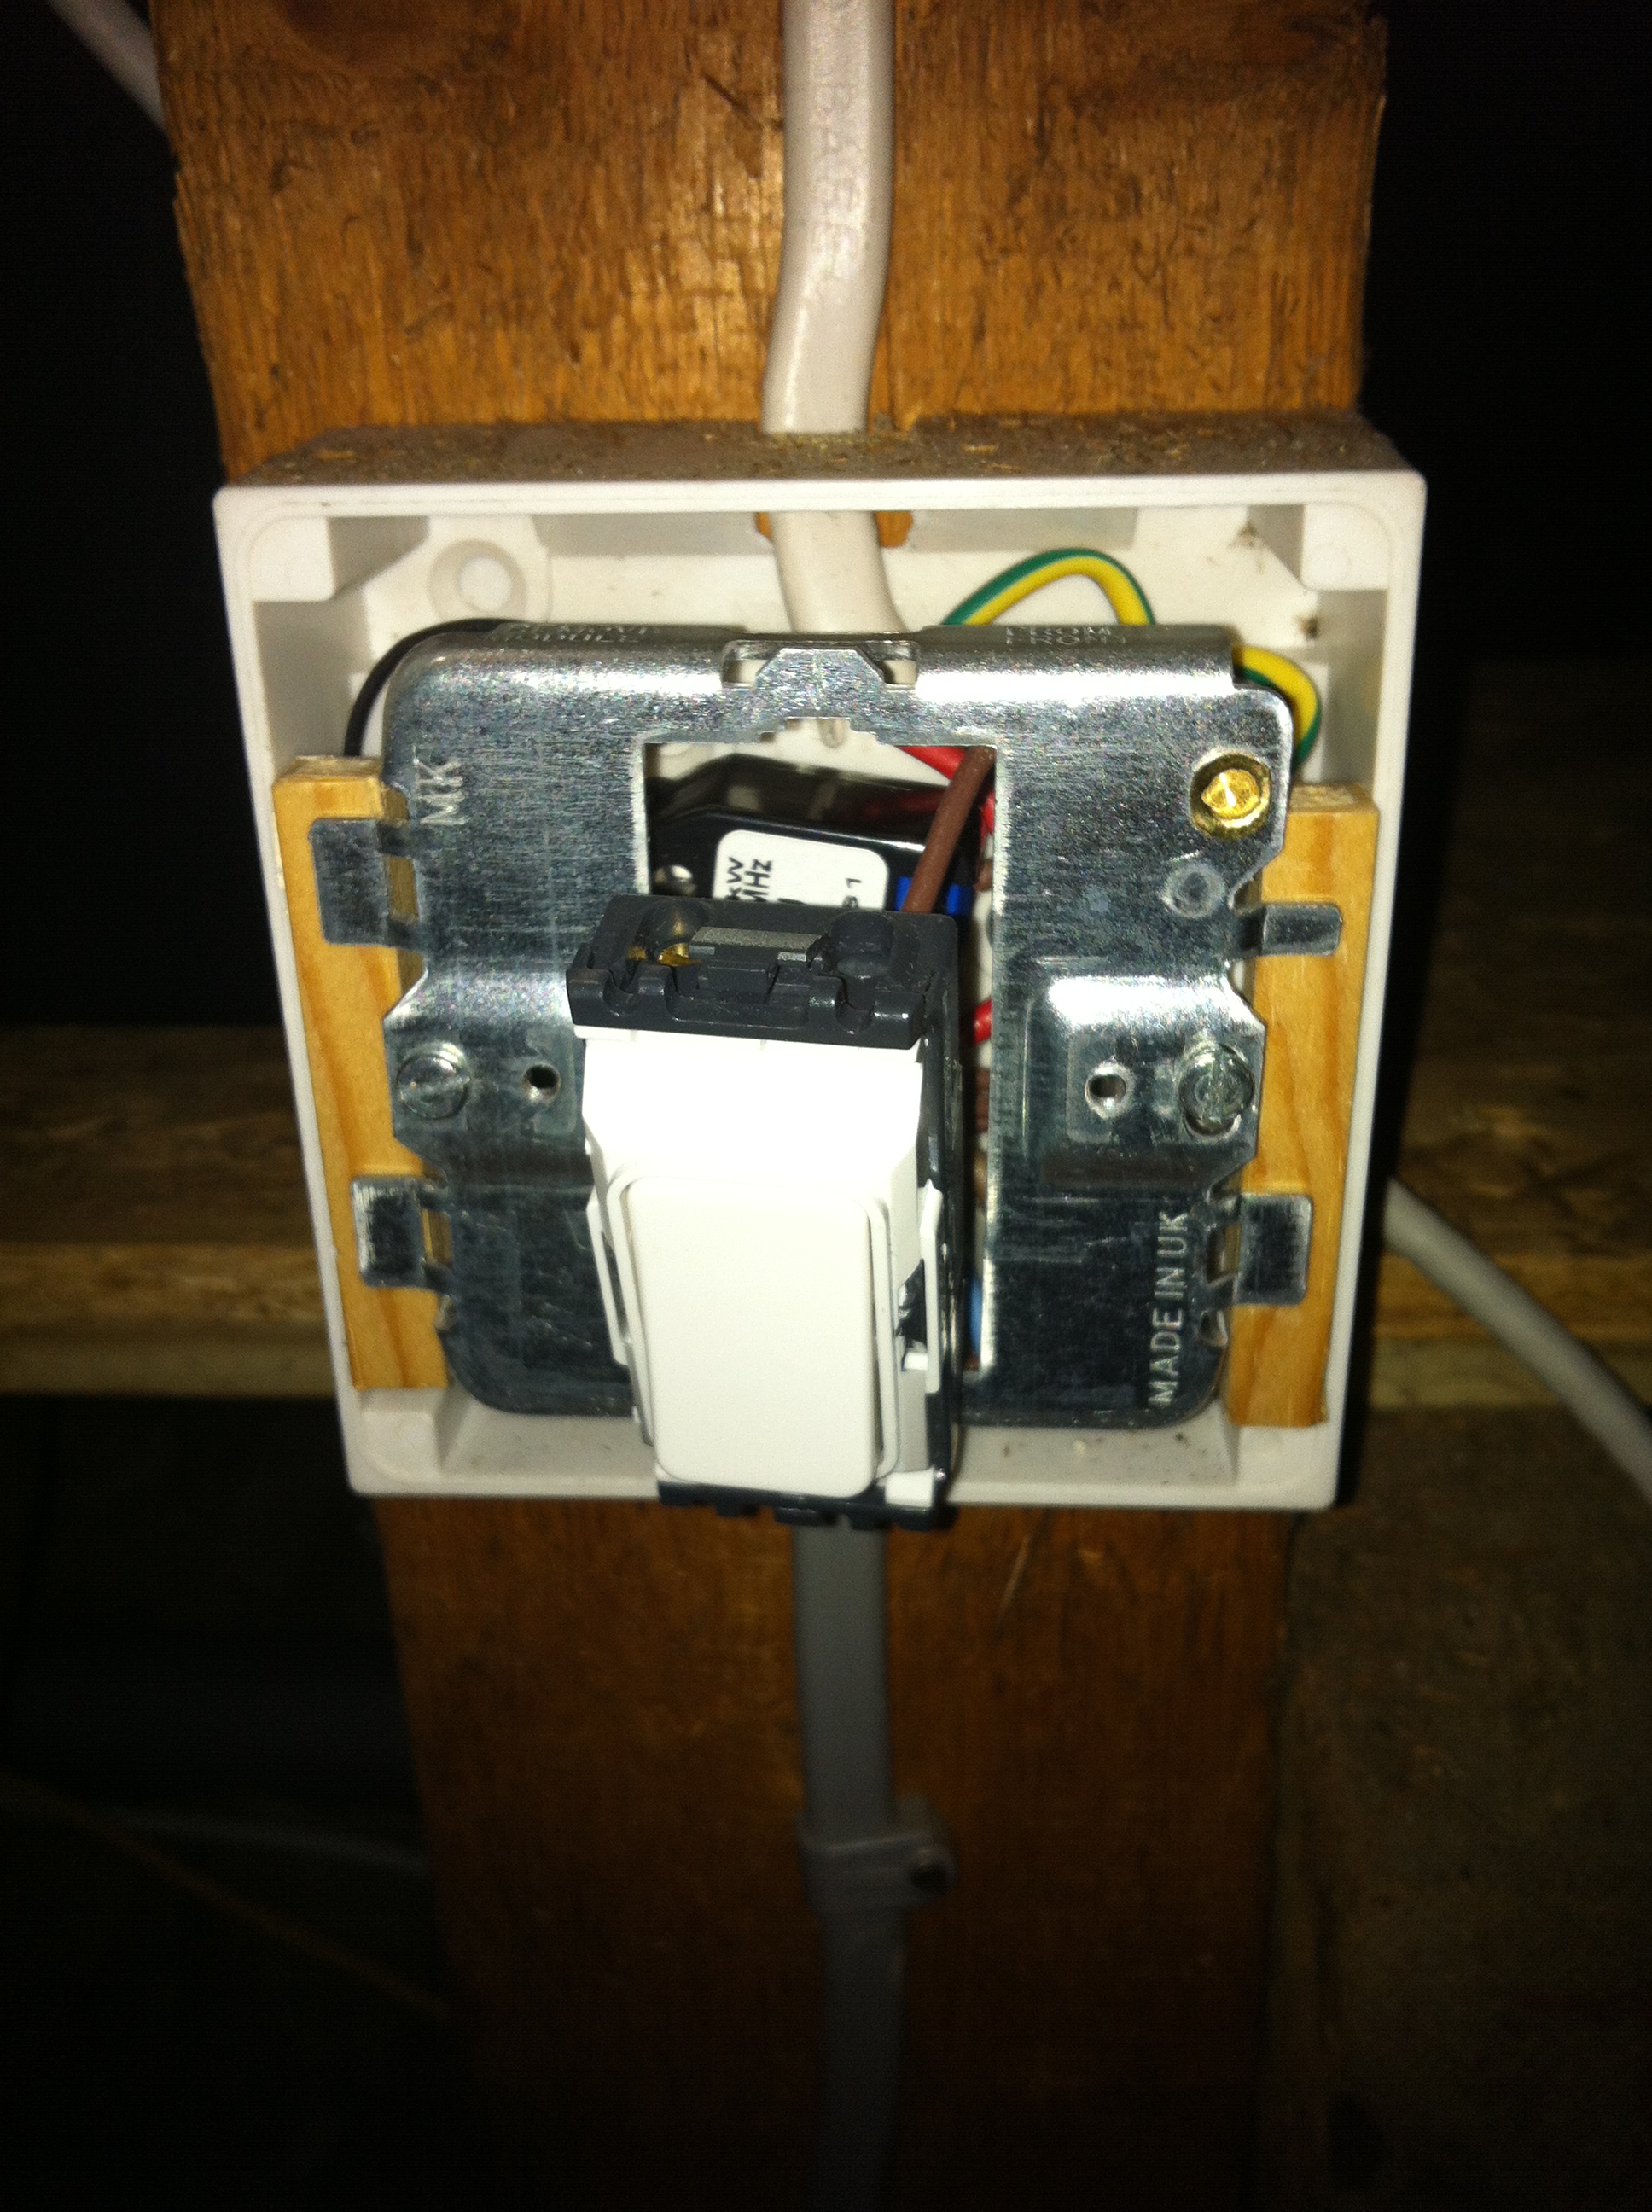
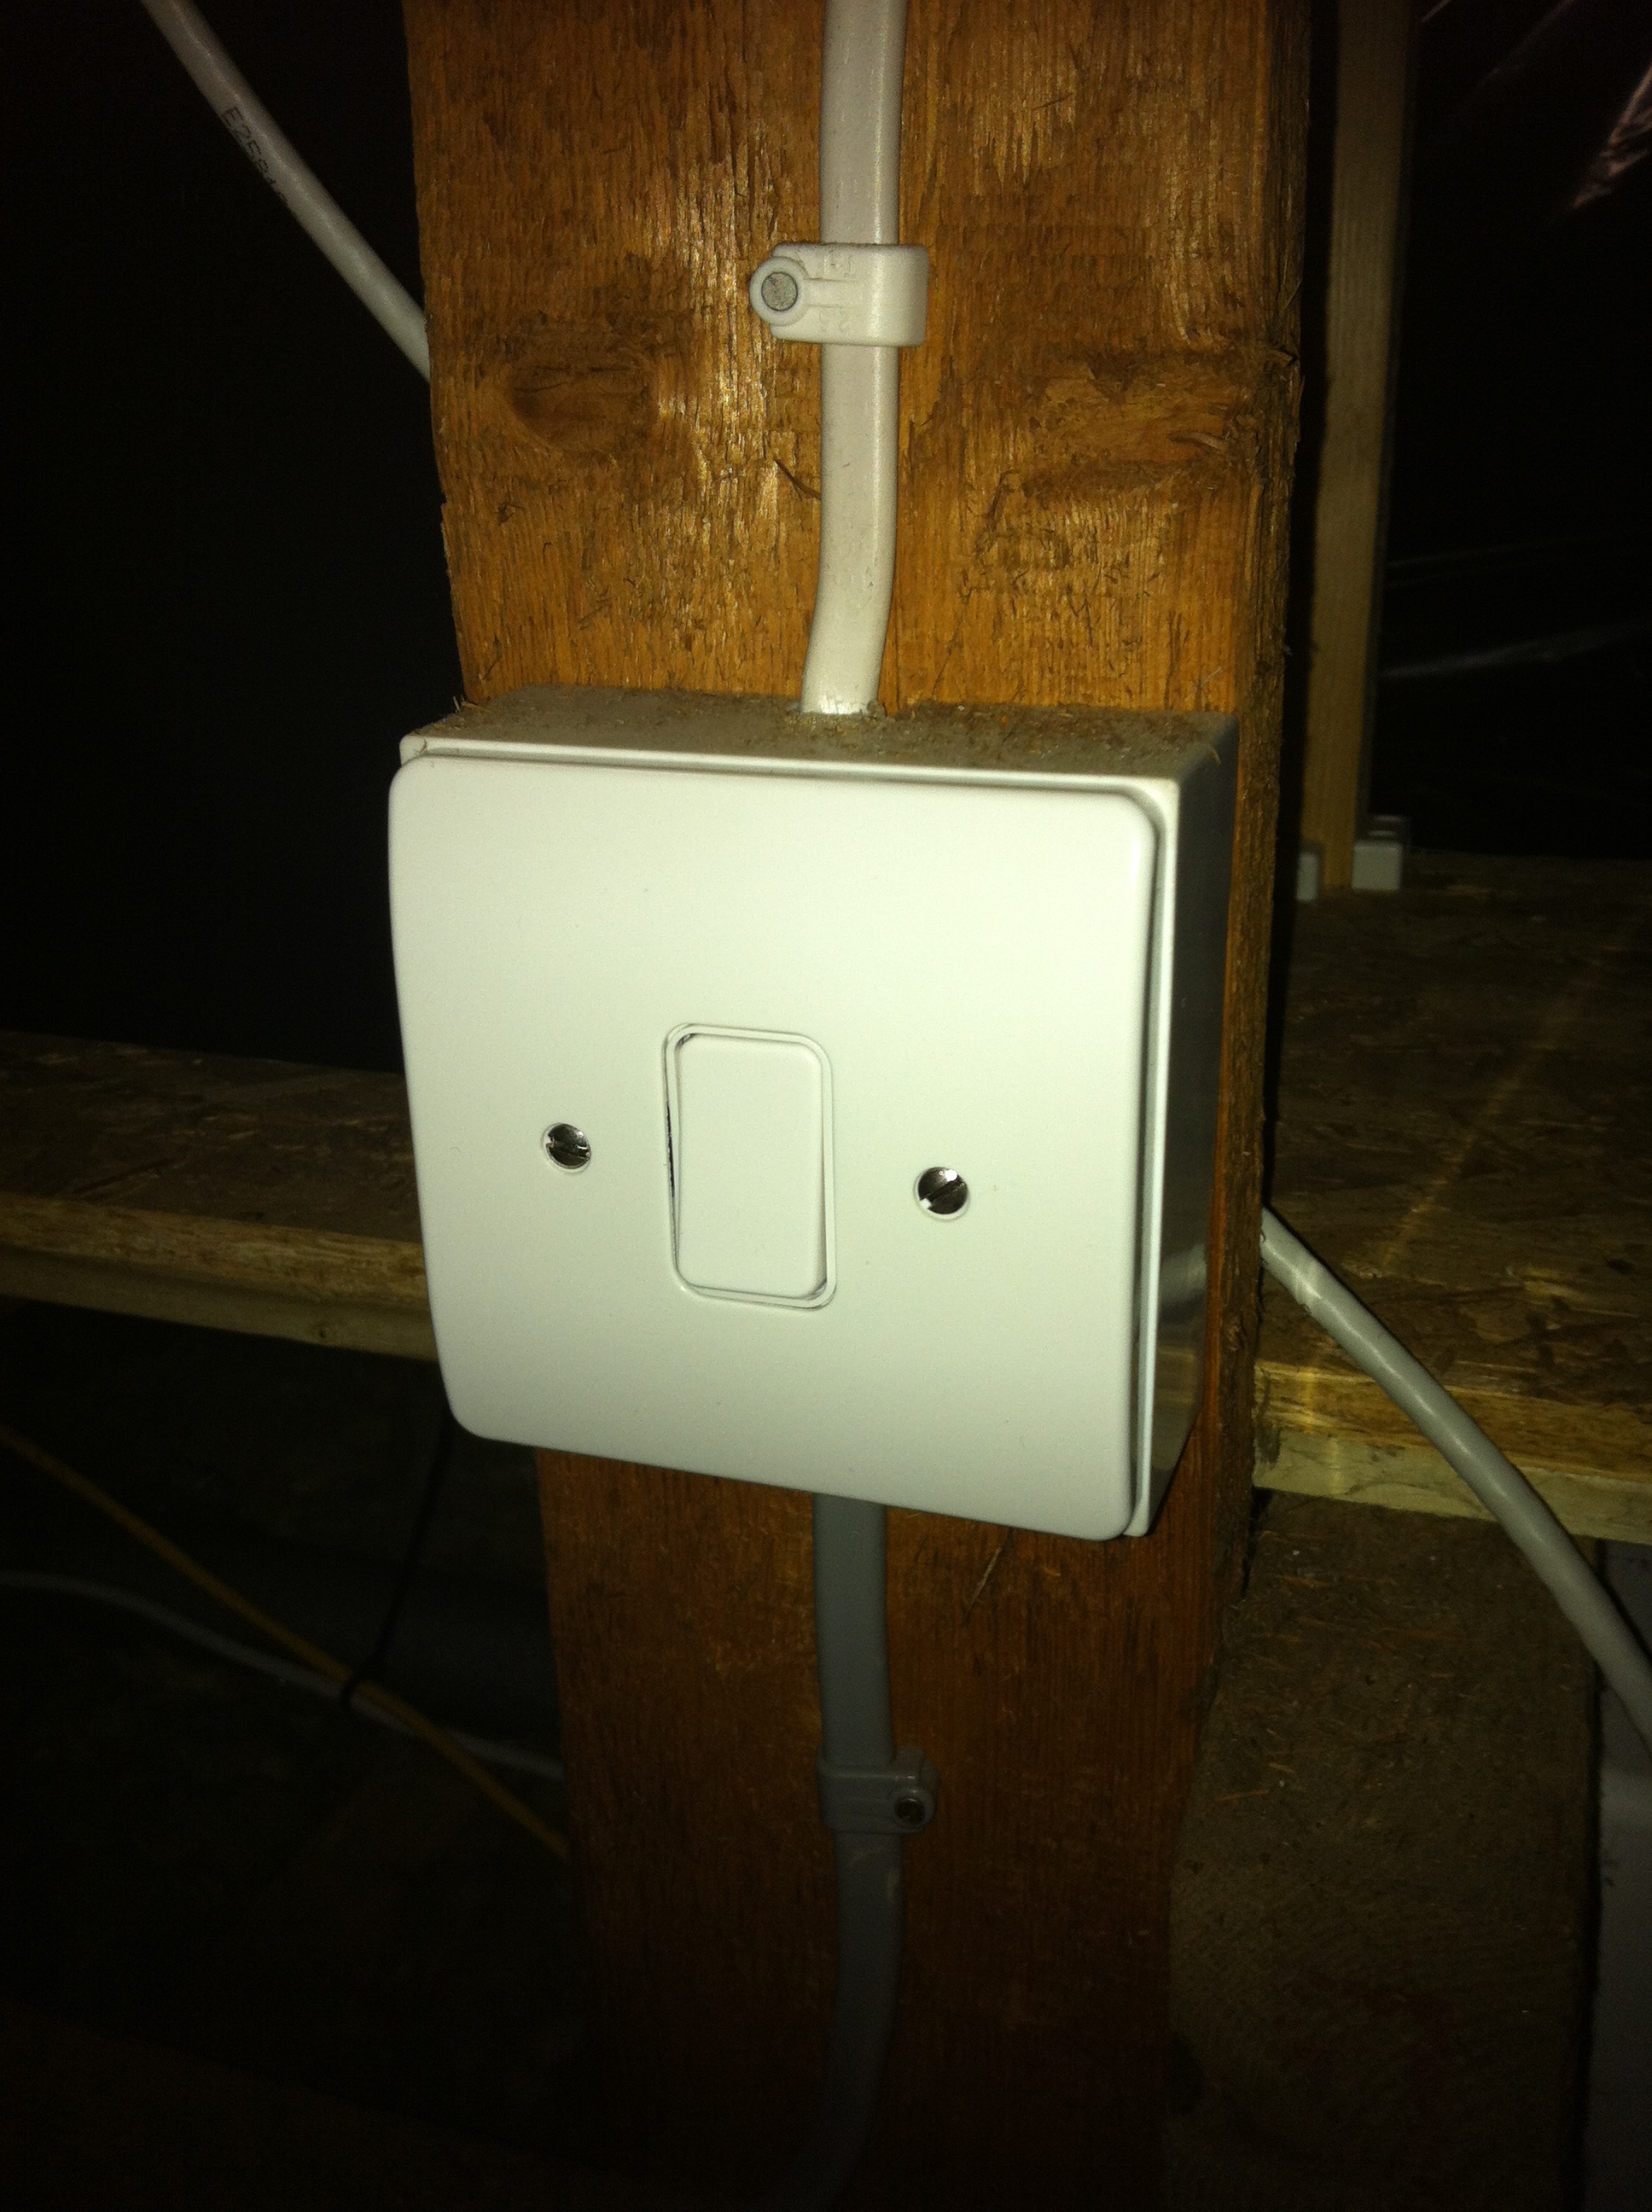
Next up was installing the MK Grid Plus frame and I found a small problem – up until now I’d been using the MK Grid Plus stuff on in-wall pattresses but on this particular surface mount pattress the frame sunk completely inside the pattress.
I probably should have gone off to the DIY sheds and grabbed a different pattress, but I was on the clock as the family would be back soon, so I made up a couple of wooden spacers 🙂
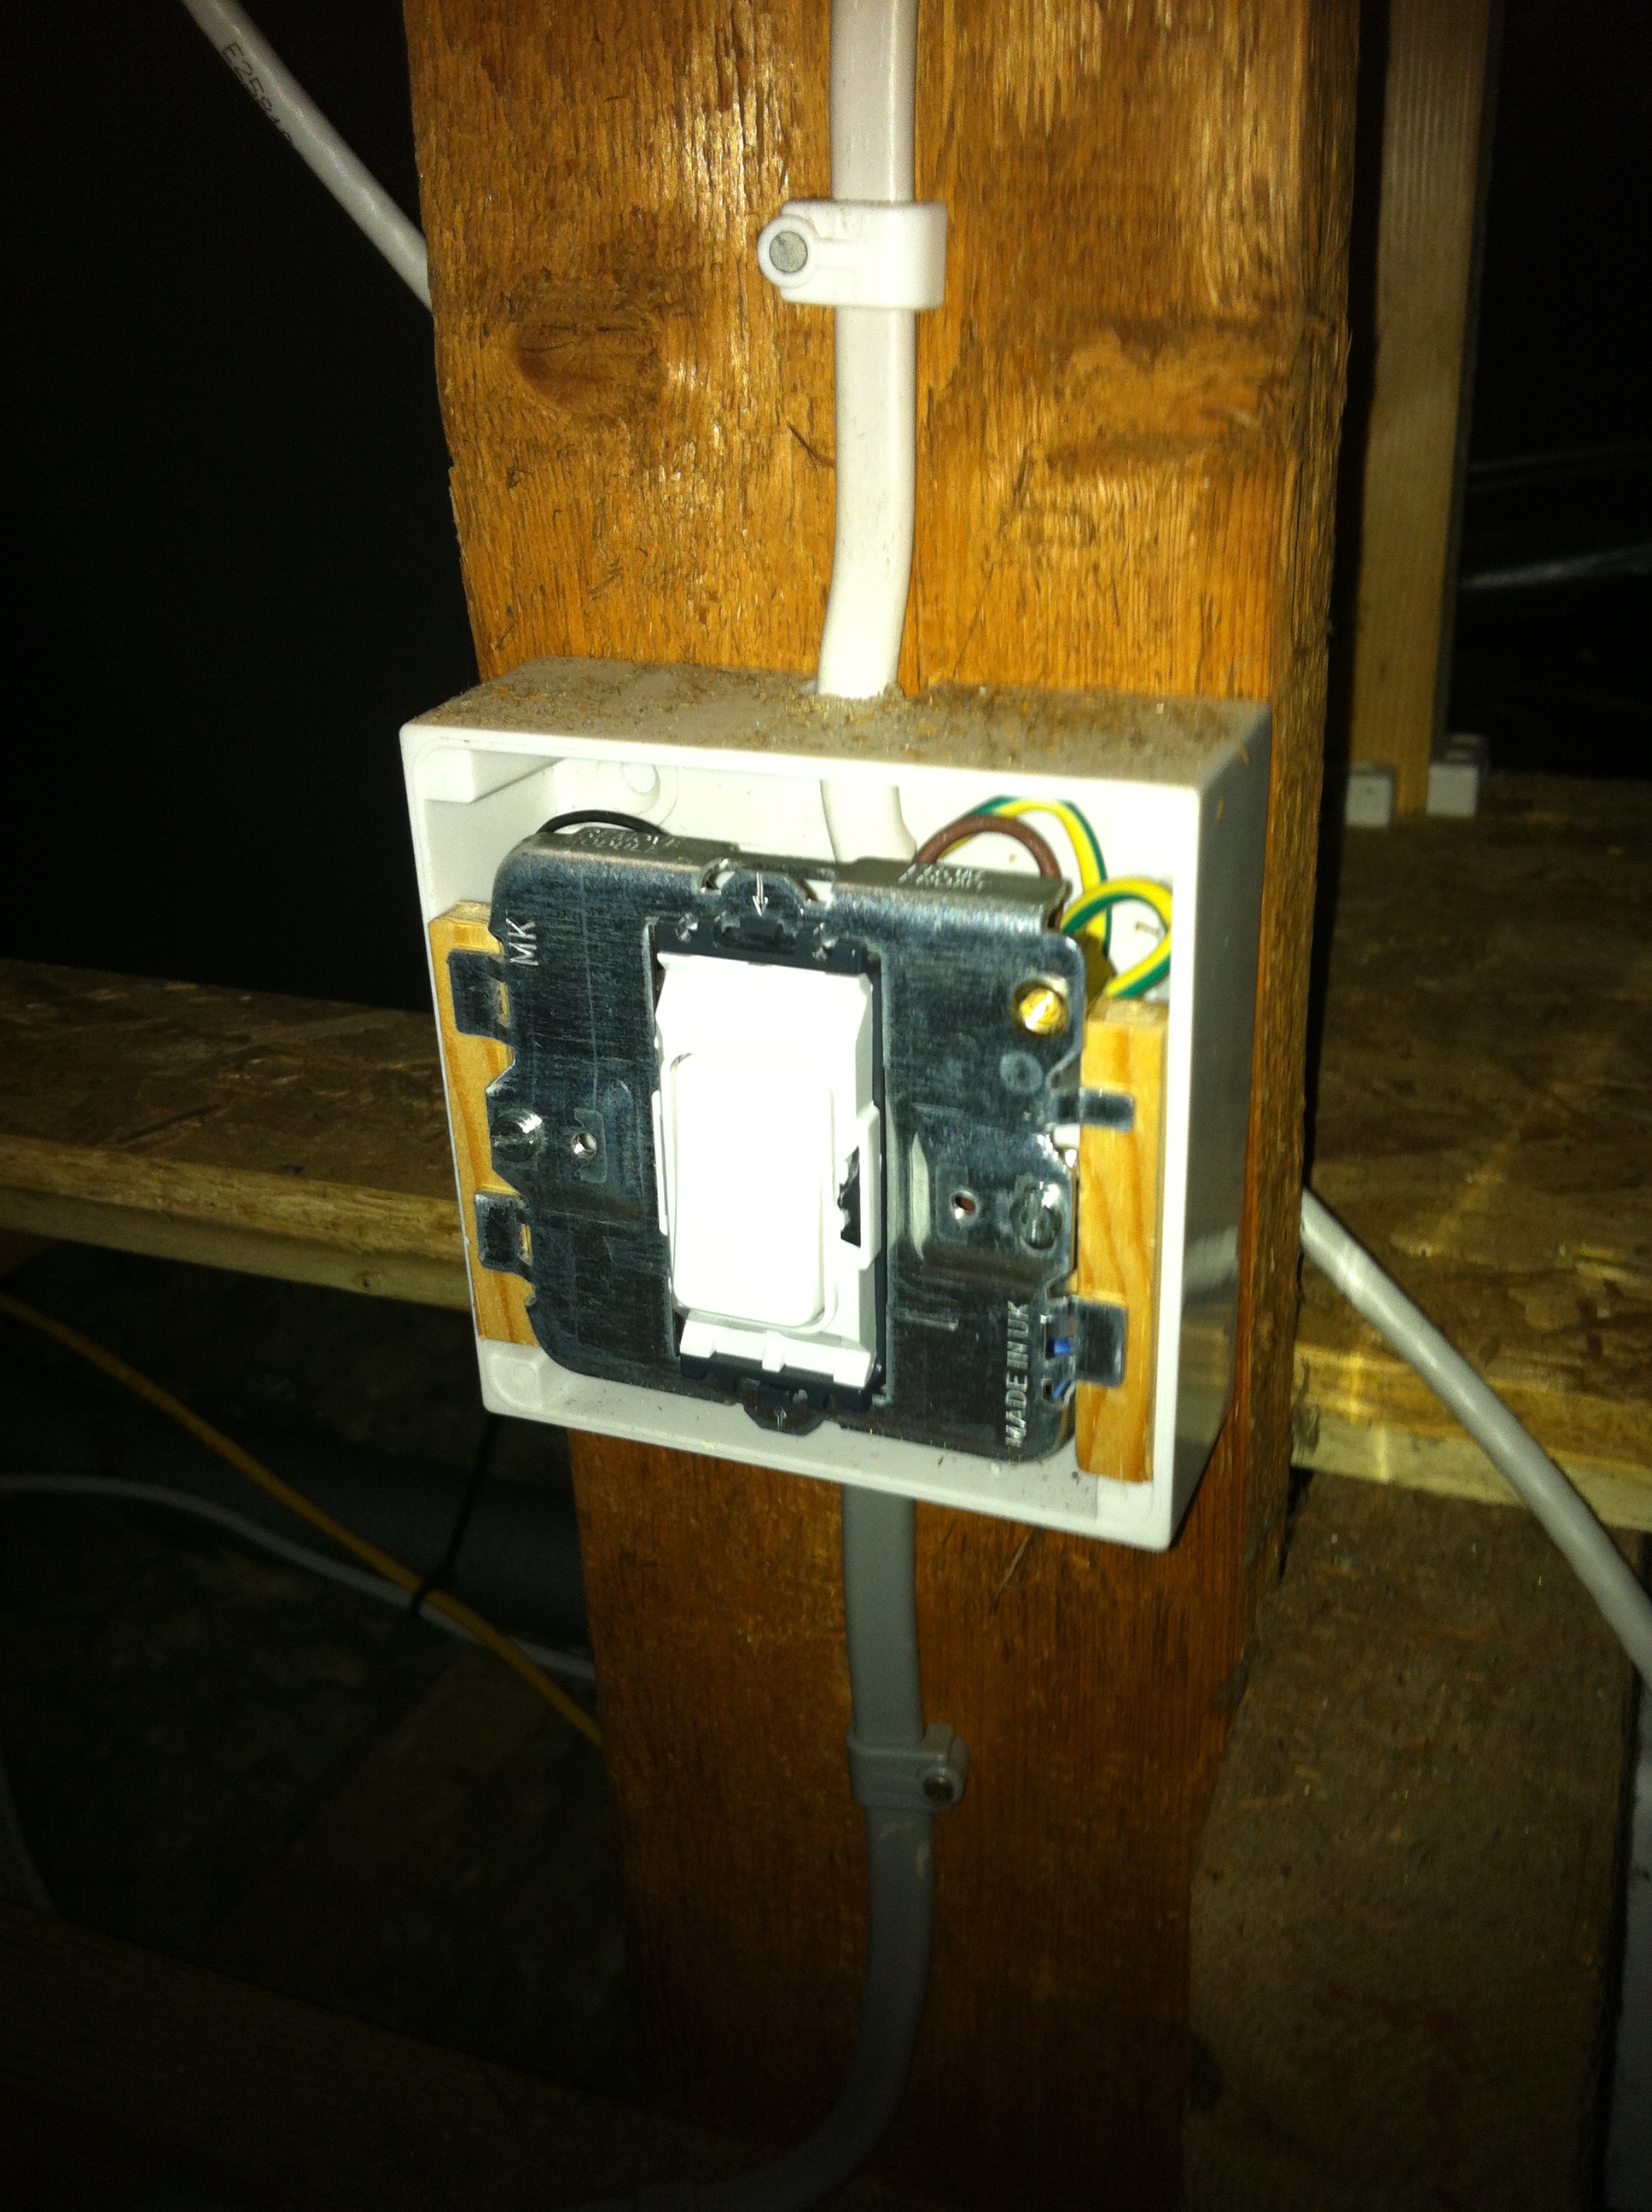
With the switch cover installed it all looks ok and to be honest, the local switch is probably never going to be used anyway since the whole point of this is to automate the lights!
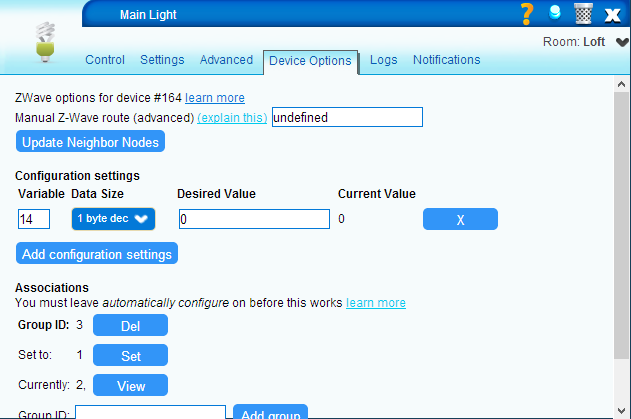
Once the hardware side was sorted, a configuration setting was needed on the Vera to set up the Fibaro Relay for retractive / momentary switches (it is configured for toggle switches by default). This involves setting “Parameter 14” to 0.
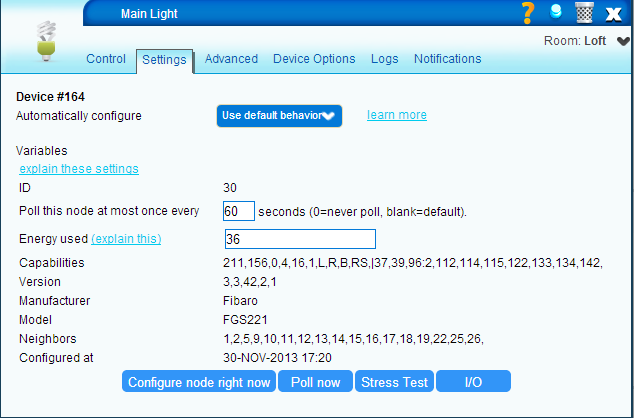
I also configured the “Energy Used” field in the Vera, this means that when the light is on, it will record the power usage over time.
So that was the light sorted, now I wanted to use the Fibaro Universal Door & Window Sensor to turn the light on automatically when the loft hatch was opened.
This particular sensor is a relatively new addition to the Fibaro range and uses similar components to the Fibaro Universal Sensor, the main difference being that this version is battery powered and hence sleeping most of the time apart from periodic wake up to send status and obviously waking up immediately in alarm conditions.
It’s pretty simple to install, either by screwing it down or using the sticky pads provided. It can also be fitted with a DS18B20 temperature sensor and will report the temperature to the Z-Wave network too. I didn’t need this particular function as I already have an Oregon Scientific THN132N in the loft transmitting environmental conditions. I screwed the sensor onto the side of the loft opening but one thing that annoyed me was that the cover barely seems to click in place and the slightest touch makes it pop off again. With hindsight I may need to move the location should it keep getting caught when I’m climbing up and down the ladder.
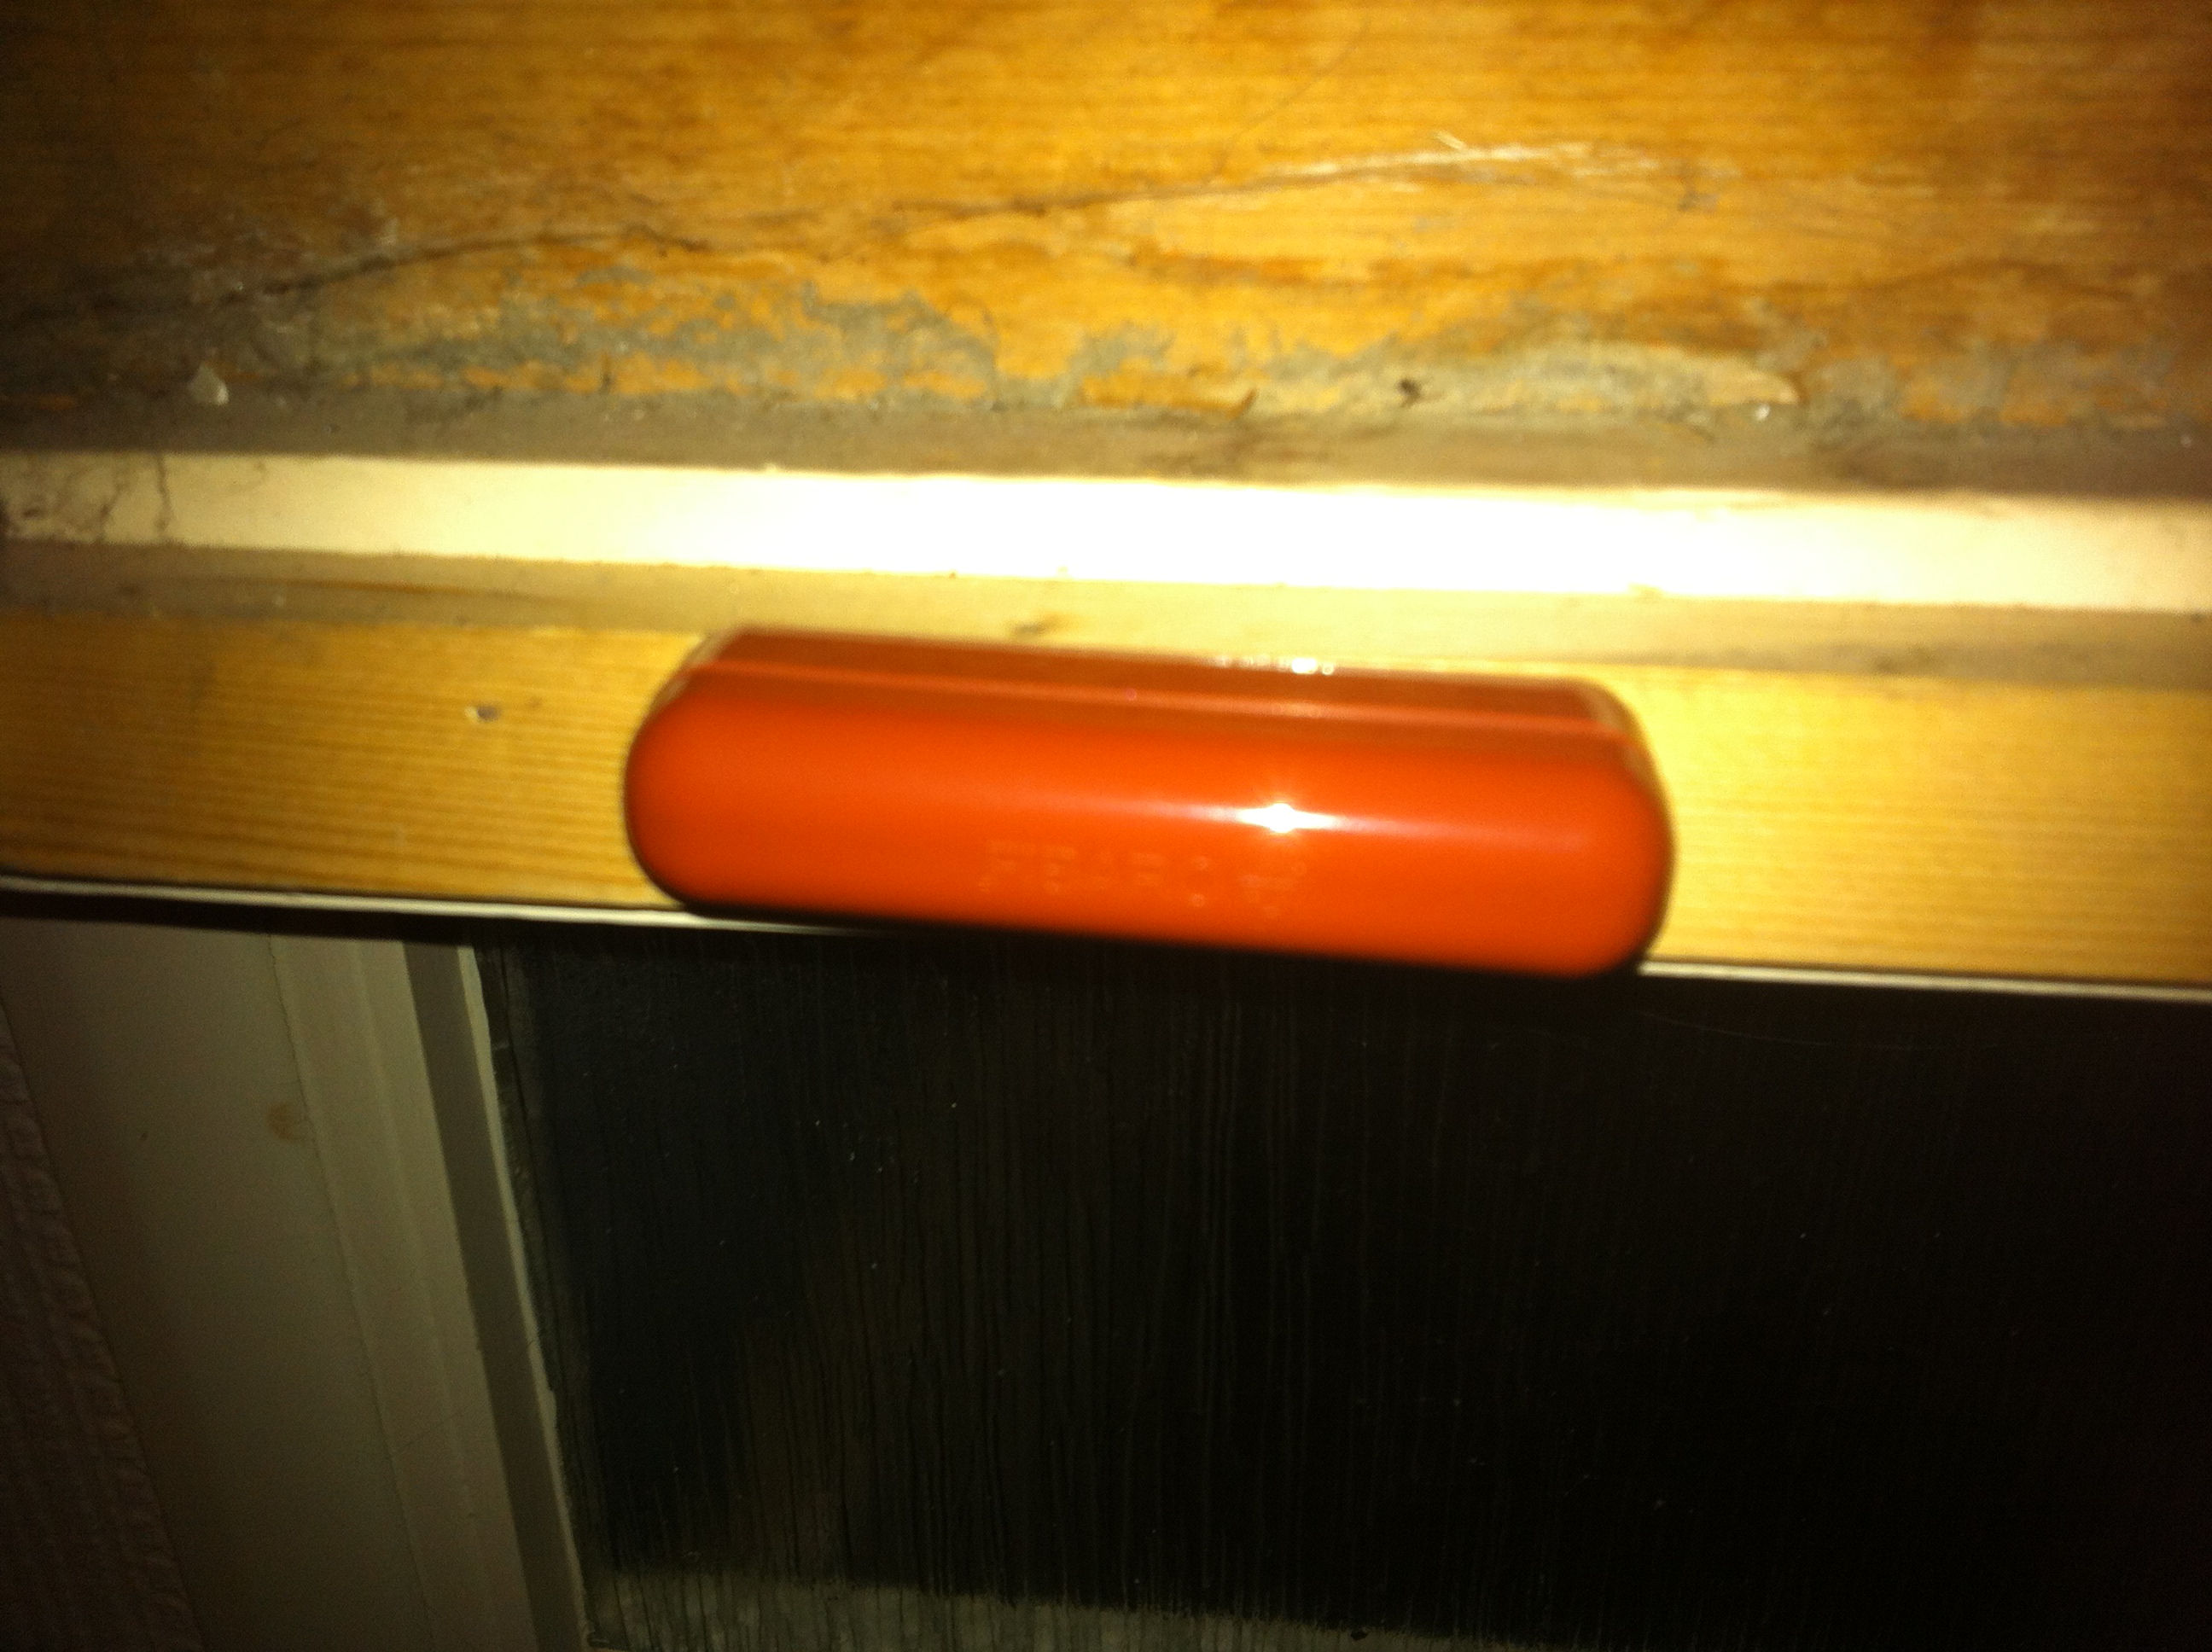
The magnet was equally as simple to install on the loft hatch itself.

Once completed, I then needed to include the sensor into the Z-Wave network using the Vera. This proved challenging to say the least and at one point I was convinced that the sensor was dead and not working at all. It’s supposed to have a blue LED on it that flashes when it’s activated but this didn’t appear to be working. On top of that, I must have tried a dozen times to include the blasted thing (up and down the ladder) and it wouldn’t have it at all.
Eventually I removed the sensor and bought it down next to the PC and tried again, but still nothing. I then carried out a reset of the sensor, again pretty challenging as without the LED working there was no feedback from it at all to say if the reset had worked or not. A few more goes at inclusion and I was just about to give up when suddenly the Vera UI said “adding new node…..” and boom it was working. No idea what the initial problem was, but touch wood, it’s been absolutely fine since then!
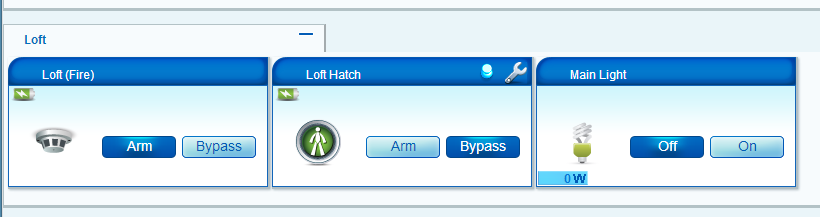
One of the great things about the Vera is the simplicity with which you can create complex interactions between “inputs” such as sensors, switches, etc and “outputs” such as lights, sockets, etc. I’ve been doing HA for a long time now and remember back to the days of writing scripts, tracking variables, constantly tweaking code, just to carry out simple “if this then that” logic.
Out of the box the Vera supports Scenes so it was a simple job to add a couple of scenes to turn the loft light Fibaro Relay on and off.
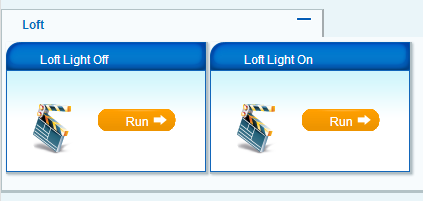


Adding an appropriate Trigger to start the scene was just as simple.


And that was pretty much it! Job done!
Now, when the loft hatch is opened the loft light comes on automatically and Vera records the power consumption. Once the loft hatch is closed the light goes off. Now there’s no chance of me forgetting to turn the light off and discovering months later that the light has been on permanently 24/7 – not that I’ve ever done that of course!!
Now, where did I put those outdoor security lights?!?!
Thanks for reading,
Martyn Wendon
