So a couple of weeks ago I started to look in earnest at a “stairway lighting” project that has been on my to-do list for a number of years. After running this project through the 10 Home Automation Commandments, I decided to break it up into two phases:
- Detecting presence on the stairs
- Lighting the stairs
Phase 1 is now completed, so this post will go through some of the testing I carried out, the decisions that I made and the eventual solution!
To begin with, I played around with a few different ideas over the space of a week or so and first up was PIRs. I already have Visonic PIRs in the downstairs and upstairs halls which are integrated into my HA system through a plug-in on my Z-Wave controller (a MiCasaVerde Vera) that interfaces to my Powermax+ alarm, as well as via an RFXCom Transceiver. I was therefore hoping that I may be able to use those – Commandments 3 and 6 would be well and truly satisfied if that were the case 😉
Unfortunately, the existing PIRs proved unusable for this application. They were too “general” in their coverage – great for their original purpose, intruder and presence detection, but I didn’t really want the stairway lighting coming on unless somebody was actually going up or down the stairs directly.
I had a couple of the newer Visonic PIRs lying in the spares cupboard and also liked the look of the new Philio Z-Wave sensors – both of these are really discrete and the latter also provides light and temperature levels as a bonus. I suspected that I could probably mount them in close proximity to the stairs and get good results. Unfortunately, when I tried with the Visonic PIRs, I still couldn’t get accurate enough results – placing them at the bottom and top of the stairs still covered too much of the adjoining hallways.
So then I wondered if I could actually mount the PIRs in a kind of beam-break position, actually at the side of the stair treads. This proved a bit hit and miss, sometimes the PIR would trigger, but other times it was possible to “step over it” while still stepping on the stair tread itself.
At this point I pretty much gave up with the PIR option, I could have probably persevered and got acceptable results, maybe by having two PIRs, one each side of the stair tread. But I only had two in the spares cupboard, so would have had to buy more…..and if I was going to have to spend money, it might as well be on a more suitable solution!
Onwards then, next up was infra red beam-breaks! Except I didn’t have any 🙁 So I looked at these, but they seemed pretty expensive, plus I’d still need to actually get them integrated into the HA system some how, wire-free preferably too! This was a lot cheaper, and I’d seen that Digit had used some for his stair lighting project, but it would have needed modifying to suit and I would still have had the same problem – getting a usable output into the HA system.
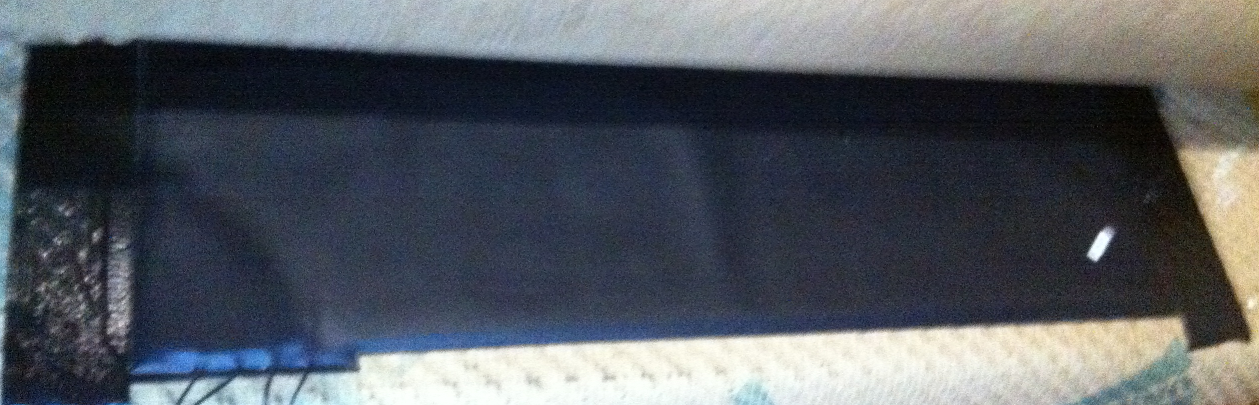
The final option was pressure mats, but again, I didn’t have any “on the shelf”, so would have to fork out for some just to test with 🙁 Surprisingly though, they were quite cheap – TLC had the TS045 for about £7 each and seeing as I needed to order a few MK Plus Grid switches for the spares cupboard, I figured I could shell out on a couple of the pressure mats at the same time and save on delivery costs.
Once they arrived, a quick bit of testing with a multimeter on “continuity beep” setting seemed to indicate that they would probably work well, each one needed a good “stepping action” to trigger them. This would definitely give me the localised presence detection that I needed, but I still needed to get that data into the HA system!
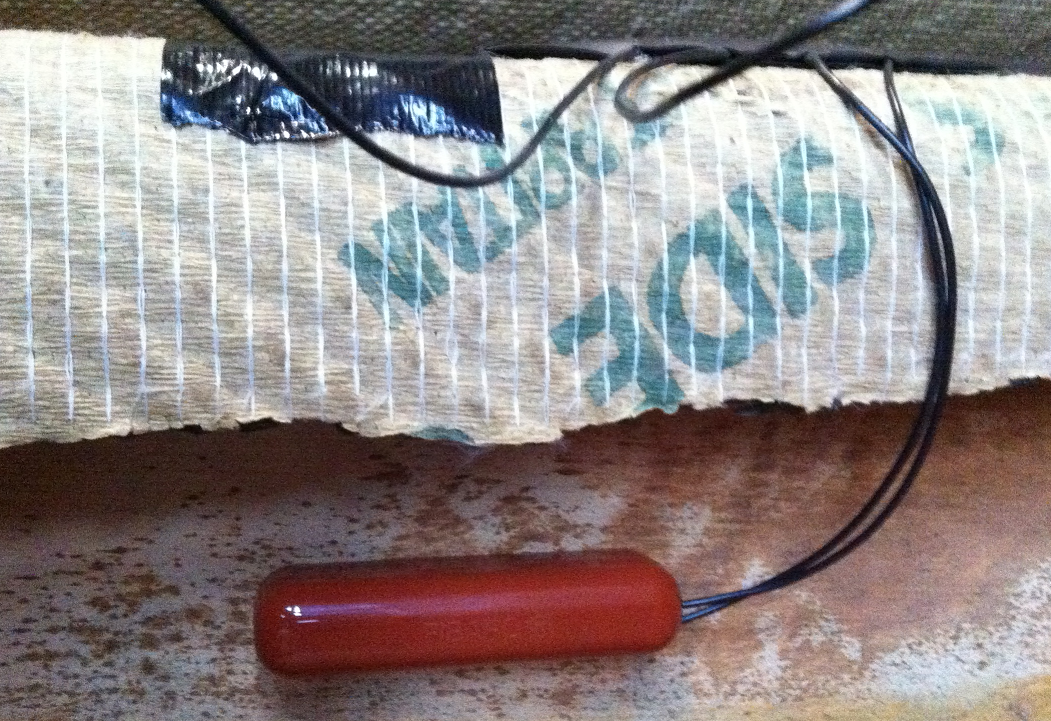
I’ve previously used the “Aux” input on Visonic or Home Easy Magnetic Contact Sensors (or even replaced the reed switch) to interface things like this, but this time it wasn’t possible to do that since the Visonic are setup as “normally closed” i.e. the magnet keeps the contact closed, they “turn on” when the contact is broken. The pressure mats I had were “normally open”, so the Visonics weren’t going to work 🙁 I know I probably could have put a “not gate” in between the mat and the Visonic, but that would add more complication.
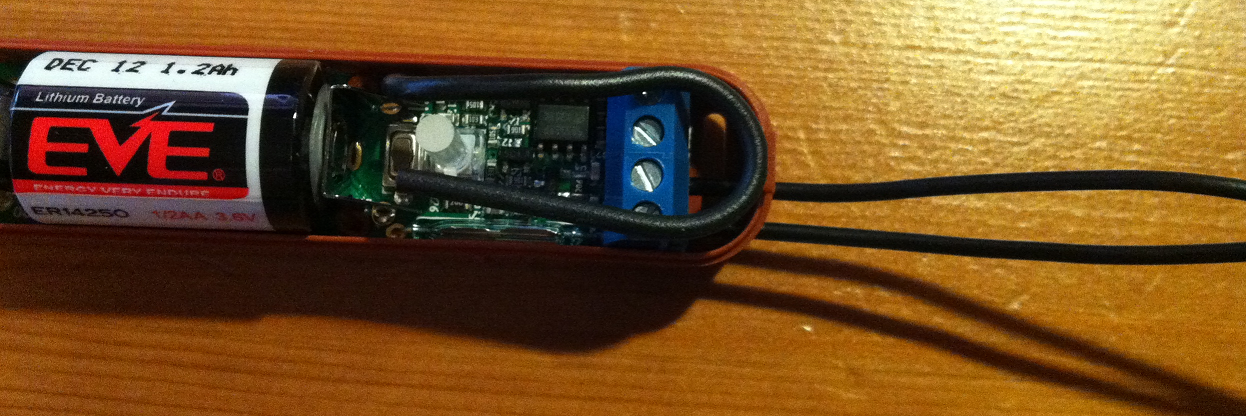
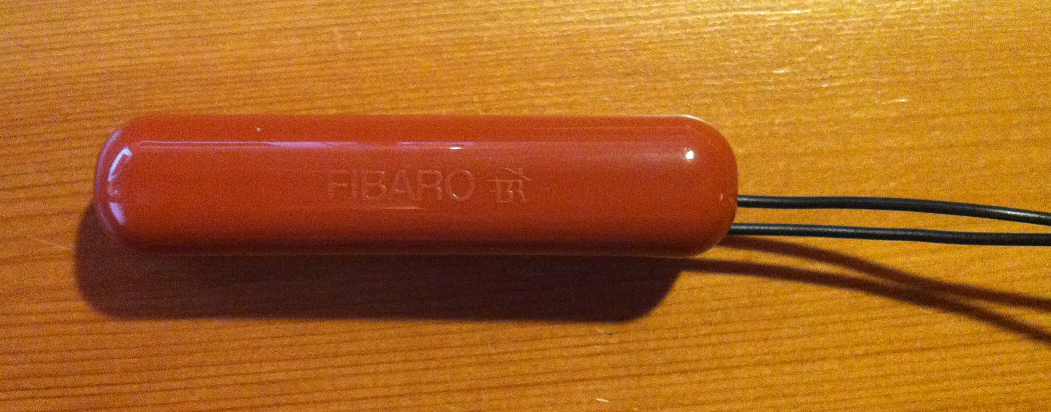
A while back, I completed another project off the to-do list, “automatic loft lighting” and for that I used one of the Fibaro Universal Door & Window Sensors. These are pretty flexible little sensors and they also have an “Aux” input like the Visonic. The difference with the Fibaro is that via a configuration parameter you can set the input as “N/C” or “N/O” to suit your requirements. I would need two though and although they’re not that much more expensive than the Visonic, I already had some Visonics in the spares cupboard. Looks like Commandments 3 and 6 are going to get bent slightly, oh well, a few less Christmas presents for the kids 😉
A few days later and a couple of the Fibaros arrived, so I set about adding them to the Z-Wave network using the Vera. This is a pretty simple process, so I won’t go over that here, the only thing extra I needed to do this time was to configure some additional parameters using the Vera UI:

Setting parameter 2 to 0 turns off the annoying blue “status” LED – these give me flashbacks to the horrendous Home Easy light switches that have a blue LED “night light” that is “on” when the light is off and “off” when the light is on. But the blue LED is so powerful it pretty much lights the room by itself!
Setting parameter 3 to 1 makes the sensor accept the Aux input as “N/O” input which is what I needed for the pressure mat.
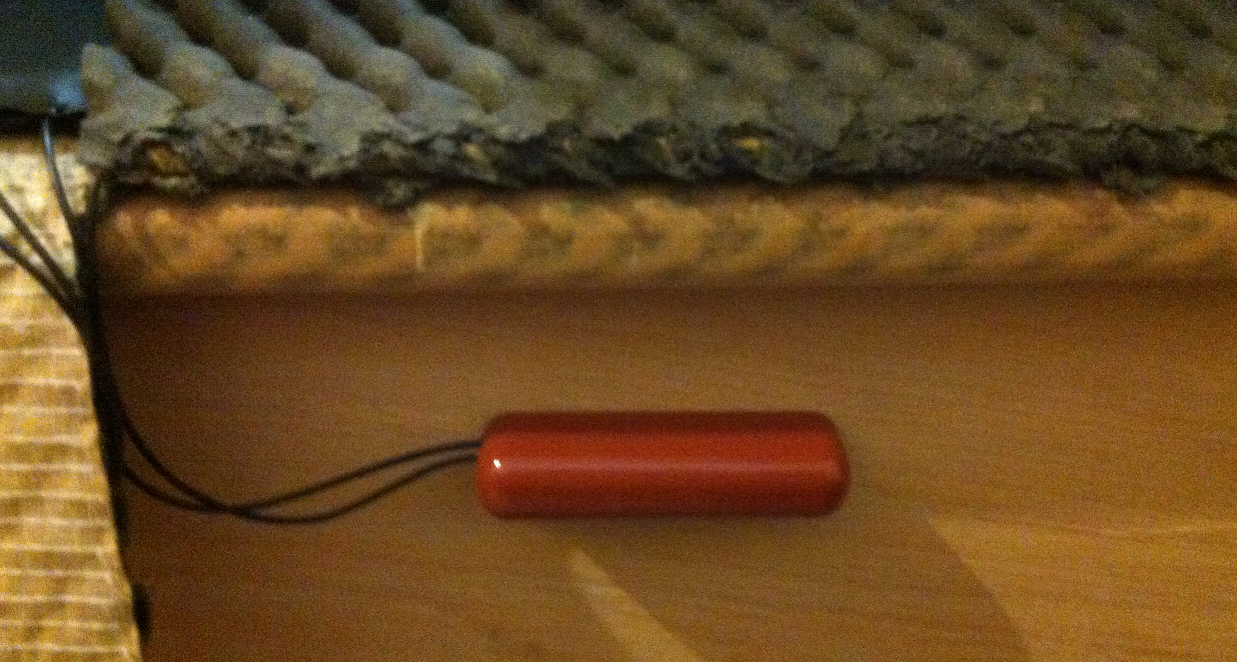
Once they were both added and configured correctly, it was a simple matter of connecting them to the pressure mats:

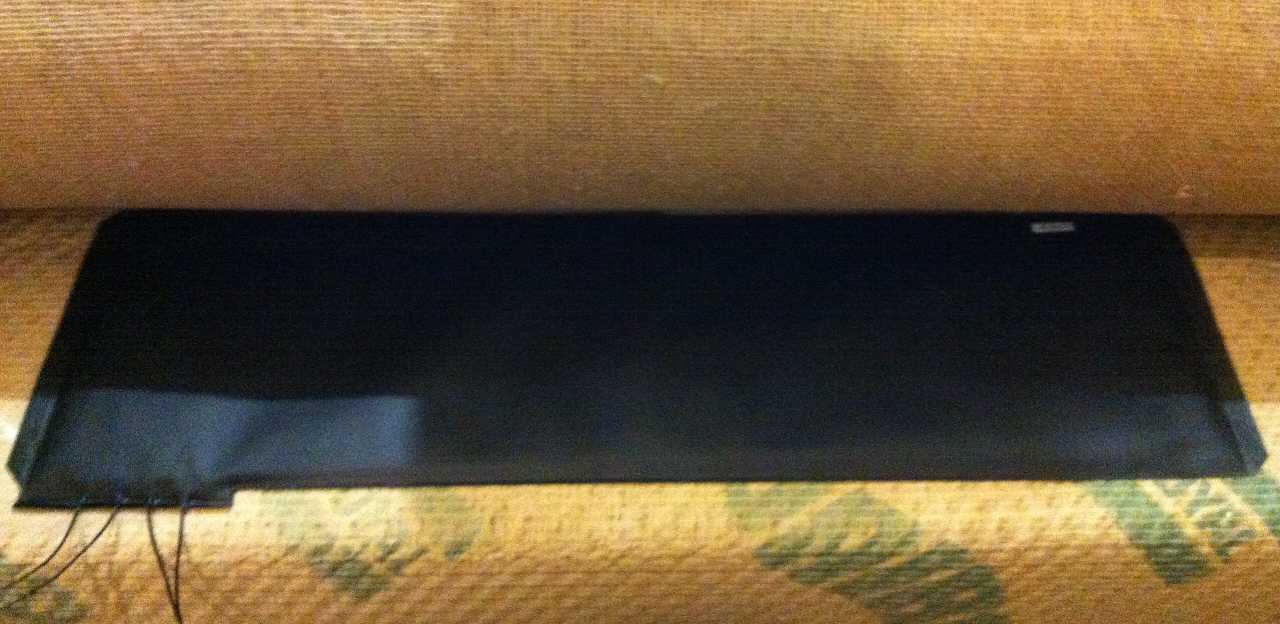
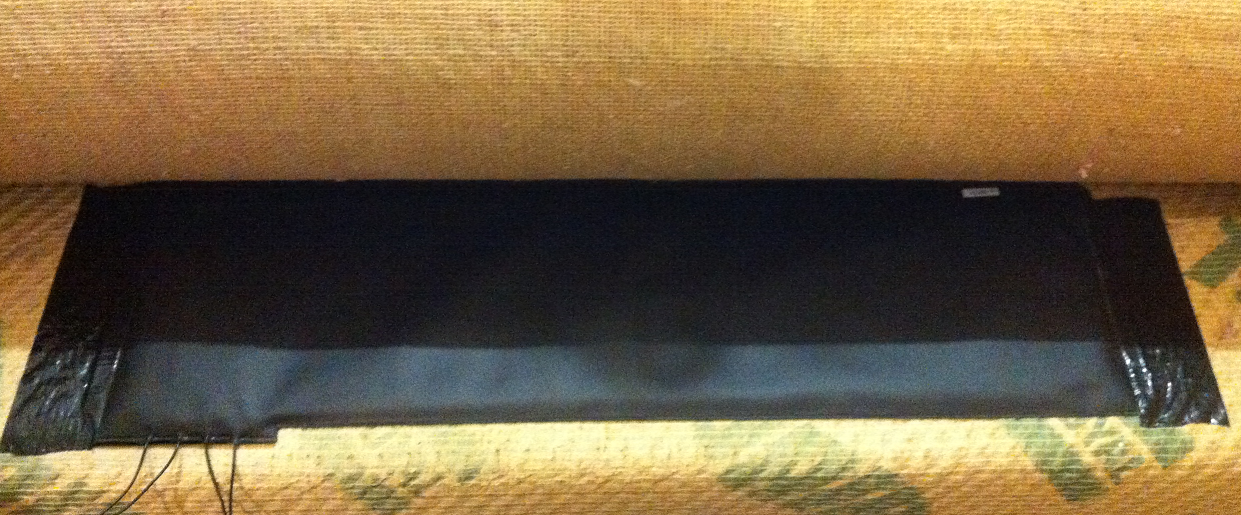
For initial testing purposes, I laid them out on the bathroom floor and let the kids jump around on them while I watched the Vera UI to see what the reaction time was:

You’ll notice that there’s another pair of wires on the pressure mat, this is for the “tamper circuit” connection, I’m not going to be using that so will just tape it up out the way when the mats are installed.
Annoyingly, the Vera UI shows a PIR icon for these Fibaro sensors, I could probably sort that out by messing with the device configuration .xml files, or maybe be installing the MiOS Update Utility, but it’s not a massive problem and doesn’t effect the functionality.
Testing went well, the Vera UI updated pretty much instantly when stepping on / off the pressure mats and much hilarity ensued with the kids trying to “beat Vera”…….
Eventually they got bored with “helping” and went off to annoy SWMBO, so I pushed on with the install:
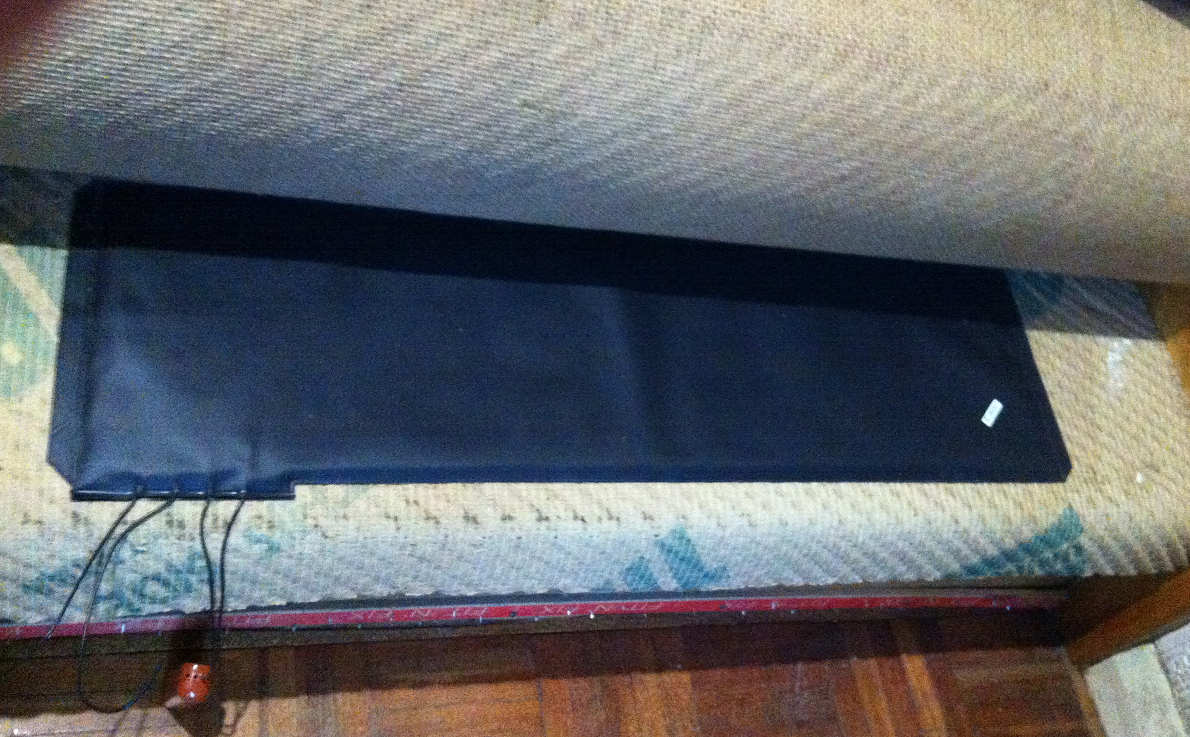
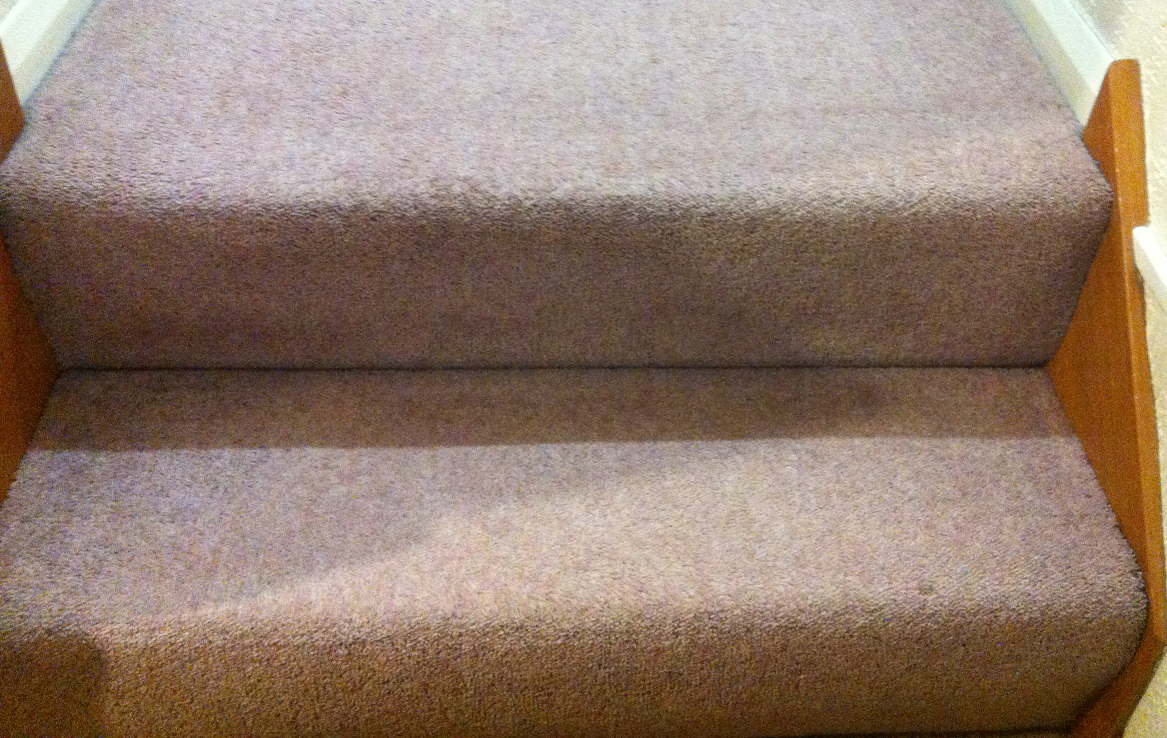
It was pretty simple to lift the carpet on the first stair tread downstairs and slide the pressure mat into place. Some Gaffer tape holds it in place quite securely.
I originally thought I’d have to mount the Fibaro sensor visible on the stair stringer, but found that there was plenty of space on the stair riser. This makes for a much neater, hidden install!
All in all it took about five minutes to install the downstairs one and re-fit the carpet afterwards:

After that I did the upstairs one as well, again it was only a five minute job:
Job done!
Over the following week or so, I monitored the triggering using a simple script in xAP Floorplan. Since the Vera has a xAP plugin that sends BSC Event Schema xAP messages it’s fairly trivial to process and react to these in xAP Floorplan.
For the time being, I simply send an SMS and an Email message when either stair mat is triggered. So far this has worked flawlessly so I will be moving onto phase 2 of this project as soon as possible!
And in the meantime, the two stair mat sensors can now also be added to my hybrid security system – while they’re not part of the 30 Zones covered by the “stand-alone” Powermax+ system, they can still be used as inputs on the HA side of the security system that encompasses another 30 odd Zones 🙂
Thanks for reading!
Martyn Wendon